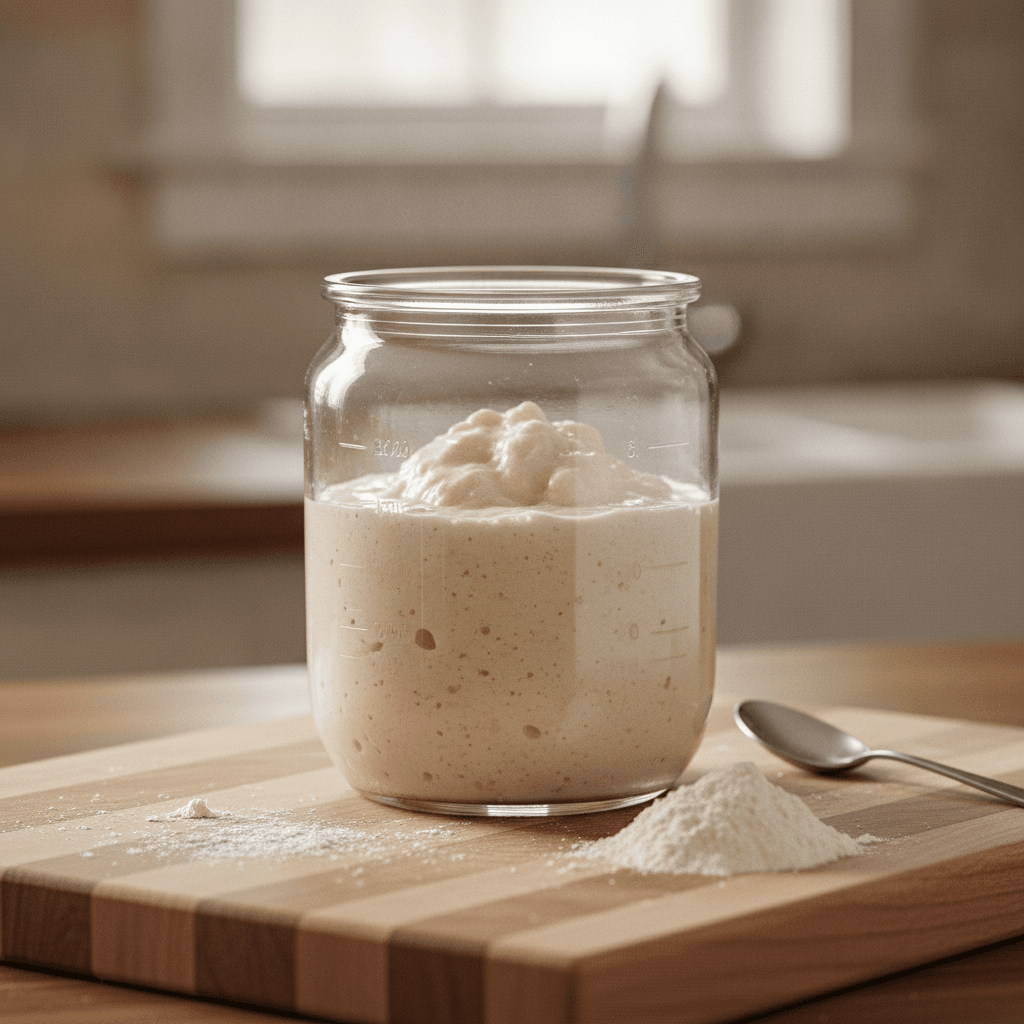
The Starter Jar is an innovative tool specifically designed to simplify the often-intimidating process of creating and maintaining a sourdough starter, making the art of slow bread accessible to absolute beginners by providing an optimal environment for microbial growth with minimal effort.
What Exactly Does The Starter Jar Do?
At its core, The Starter Jar aims to remove common hurdles faced by new sourdough enthusiasts. It provides a controlled environment that encourages the natural fermentation necessary for a healthy, active starter. This means less guesswork and more consistent results for you.
Its design helps maintain the ideal conditions that bakers traditionally strive for, such as stable temperature and hydration. This consistency is crucial for fostering the beneficial wild yeasts and bacteria that give sourdough its unique flavor and leavening power. According to a recent survey by King Arthur Baking Company, over 60% of home bakers find sourdough starter maintenance challenging in its initial stages, highlighting the need for simpler solutions.
Your First Steps with The Starter Jar: A Beginner's Guide
Embarking on your sourdough journey with The Starter Jar is straightforward. Forget complex schedules or endless troubleshooting—the focus here is on simplicity.
- Gather Your Ingredients: You'll need just two things: unbleached all-purpose flour or bread flour, and filtered water. Avoid chlorinated water, as it can inhibit yeast activity.
- Combine & Mix: In your Starter Jar, combine equal parts by weight of flour and water. For example, start with 50 grams of flour and 50 grams of water. Mix thoroughly until there are no dry spots, creating a thick paste.
- Cover & Wait: Secure the lid loosely on The Starter Jar to allow for gas exchange but prevent drying. Place it in a consistent spot, ideally between 70-78°F (21-26°C). Studies from fermentation science journals indicate that consistent temperature and hydration significantly improve starter activation rates by up to 25%.
- Feed Daily: For the next 5-7 days, once every 24 hours, discard all but 50 grams of your starter. Then, add 50 grams of fresh flour and 50 grams of fresh water, mixing well. You'll start to notice bubbles and a pleasant sour smell as your starter becomes active.
- Observe & Learn: Pay attention to how your starter rises and falls after feeding. A healthy starter will typically double in size within 4-8 hours after feeding once mature. This visual cue is your best indicator of readiness.
Why Simplicity is Key for Sourdough Success
The beauty of The Starter Jar lies in its ability to demystify a process often perceived as complex. By simplifying the environment, it allows beginners to focus on the basics of feeding and observing. It's estimated that nearly 70% of new sourdough enthusiasts abandon their first starter within the first month due to perceived complexity or lack of consistent results, underscoring the value of an easy-to-use system like The Starter Jar.
This approach fosters confidence and encourages continued engagement with the rewarding world of slow bread. The Starter Jar bridges product innovation with the timeless art of sourdough, making it accessible to everyone.
Frequently Asked Questions About The Starter Jar
Q: How often do I need to feed my starter in The Starter Jar?
A: For a new, active starter, daily feeding is recommended. Once mature and consistently active, you can feed every 12-24 hours if baking frequently, or store it in the refrigerator and feed once a week if baking less often.
Q: What kind of flour should I use for my starter?
A: Unbleached all-purpose flour or bread flour works best for starting and maintaining a sourdough starter. Organic flours can sometimes offer a slight advantage due to higher microbial content, but are not strictly necessary.
Q: My starter isn't bubbling much. What should I do?
A: Patience is key! Ensure your feeding schedule is consistent, your water is not chlorinated, and your ambient temperature is warm enough (70-78°F is ideal). Sometimes it just takes a few more days for the wild yeasts to establish themselves. Avoid over-discarding in the very early stages to build up microbial strength.

