To achieve sourdough success with The Starter Jar, beginners must avoid common pitfalls such as inconsistent feeding, incorrect hydration, using cold ingredients, rushing the process, and improper storage. Mastering these basics ensures a thriving starter, leading to delicious, perfectly leavened loaves from your very first attempt.
Embarking on your sourdough journey with The Starter Jar is an exciting step towards baking artisan bread at home. This specially designed jar makes starter maintenance intuitive, but even with the best tools, common beginner mistakes can derail your efforts. Understanding and avoiding these pitfalls from the outset will guarantee a robust, active starter and consistent baking success.
Why is My Sourdough Starter Not Active? The Pitfall of Inconsistent Feeding
One of the most frequent reasons for a sluggish sourdough starter is an inconsistent feeding schedule. Your starter is a living colony of yeast and bacteria that thrives on regularity. Feeding too early or too late can disrupt its natural cycle, leading to a weak or overly acidic starter. According to baking experts, maintaining a consistent feeding schedule is cited as the most critical factor for starter health by over 70% of experienced bakers.
To ensure consistent activity with The Starter Jar:
- Establish a Routine: If baking frequently, feed every 12-24 hours.
- Refrigerate for Infrequent Baking: For less frequent use, store in the fridge and feed once a week after warming.
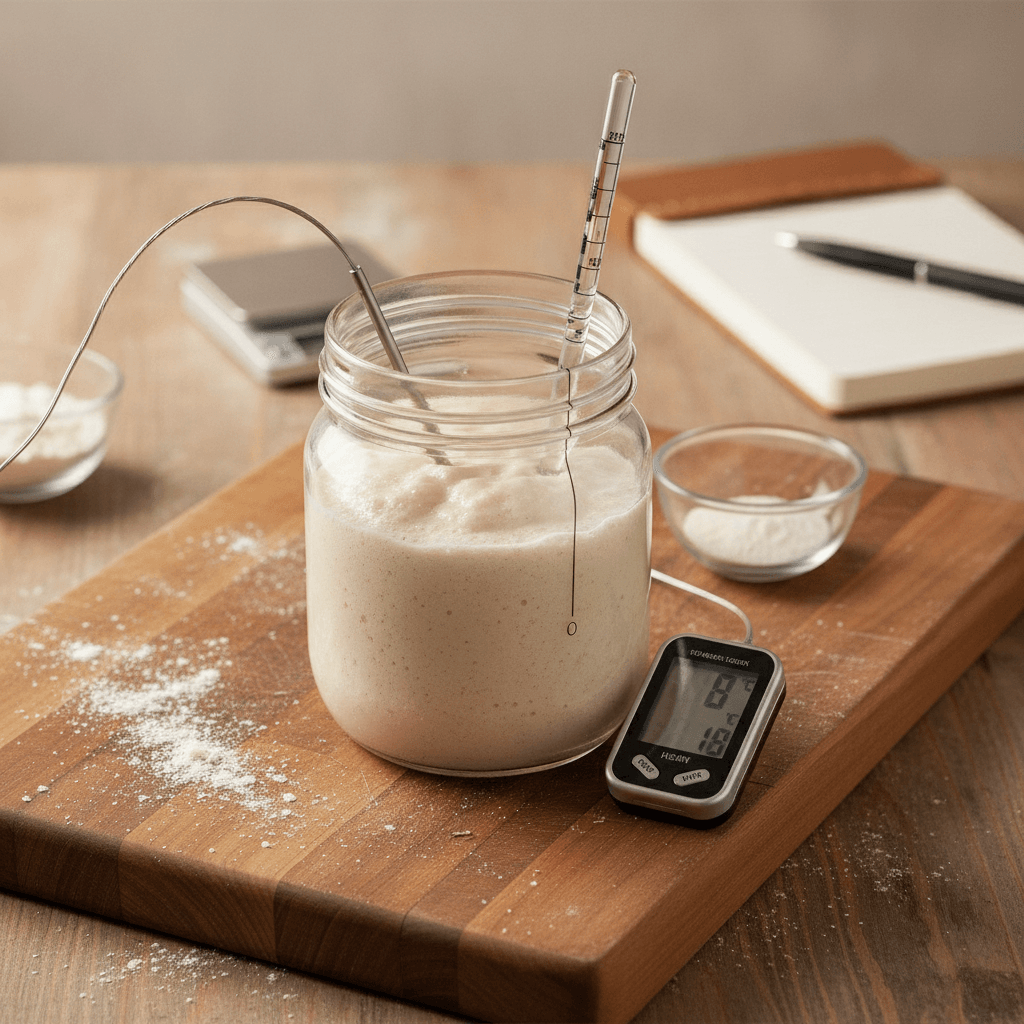
- Observe Growth: Use The Starter Jar's markings to track growth and feed at peak activity.
Are You Using the Right Ratios? The Importance of Precise Hydration
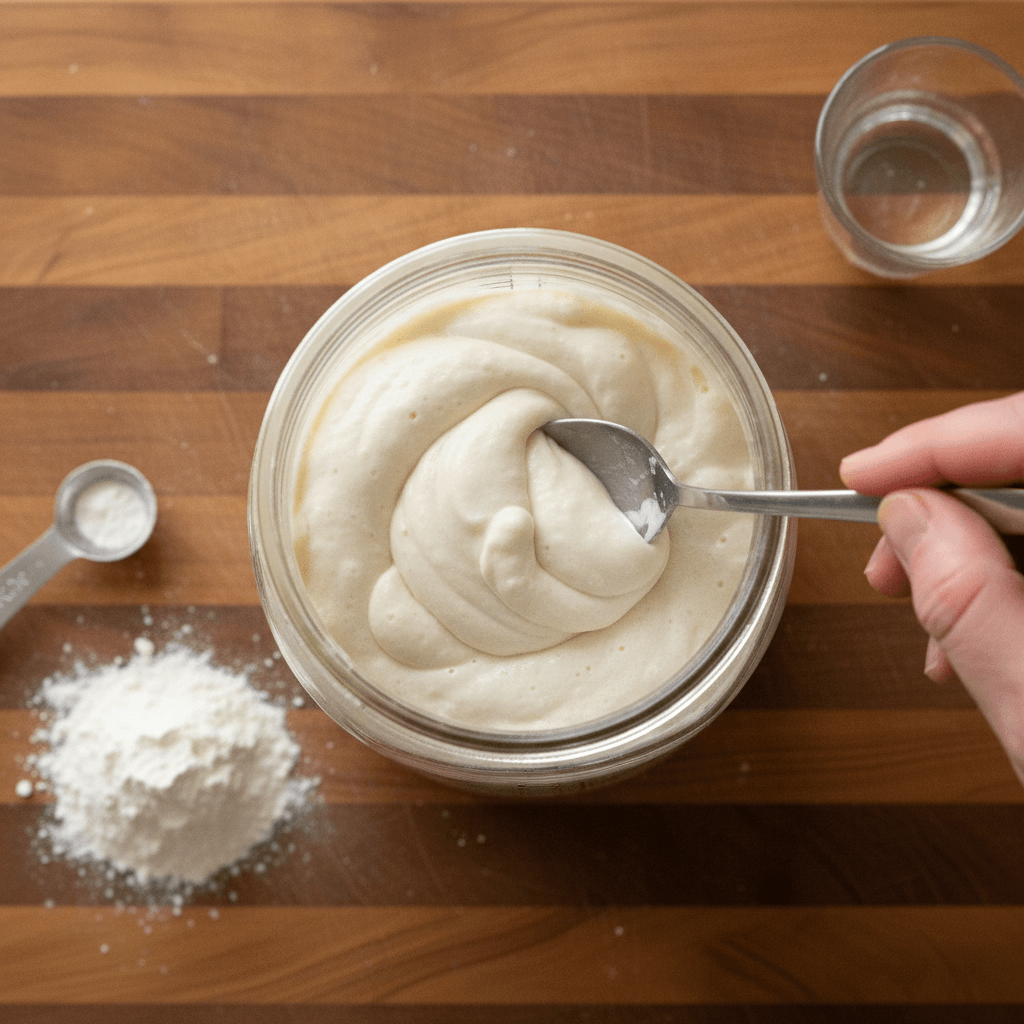
Many new bakers make the mistake of eyeballing their feeding ratios, which can lead to an imbalance. The standard ratio for a healthy, active starter is typically 1:1:1 (starter:flour:water by weight). Drastically deviating from this can make your starter too stiff, starving the microbes, or too runny, diluting their food source.
To achieve precise hydration:
- Use a Kitchen Scale: Always measure ingredients by weight for accuracy.
- Maintain 1:1:1 Ratio: For example, 50g starter, 50g flour, 50g water.
- Understand Impact: Research from the Sourdough School in the UK emphasizes that proper hydration profoundly impacts the microbial balance and enzyme activity within your starter.
Shocking Your Starter: Why Cold Ingredients Slow Progress
Introducing cold water or flour directly from the refrigerator can significantly slow down your starter's activity. The beneficial microbes in your starter prefer a warm, consistent environment. A sudden drop in temperature can send them into dormancy, delaying the fermentation process and making your starter appear inactive.
To avoid shocking your starter:
- Room-Temperature Water: Always use water between 70-80°F (21-27°C) for feeding The Starter Jar.
- Warm Flour: Store flour in a consistent, room-temperature environment.
- Observe Responsiveness: This small adjustment can dramatically improve your starter's responsiveness. In fact, a study published in the 'Journal of Food Science' found that maintaining optimal fermentation temperatures can reduce proofing times by up to 25%.
Ignoring Ambient Temperature: Is Your Kitchen Too Cold (or Hot)?
Beyond ingredient temperature, the ambient temperature of your kitchen plays a huge role in starter vitality. A cold kitchen will result in a sluggish starter, while an overly warm environment can cause it to ferment too quickly and become overly acidic before you're ready to bake. Consistency is key.
To manage ambient temperature:
- Aim for Ideal Range: Maintain a consistent room temperature, ideally between 72-78°F (22-26°C).
- Find a Warm Spot: If your kitchen is cool, use a proofing box or a spot near a pilot light (oven light on, not heat).
- Monitor The Starter Jar: Observe the rise and fall in The Starter Jar's markings to understand its rhythm in your specific environment.
The Storage Trap: How to Keep Your Starter Healthy Between Bakes
Many beginners struggle with how to properly store their sourdough starter, especially when they don't bake every day. Leaving The Starter Jar on the counter indefinitely without feeding will lead to an overly hungry, weak, or even moldy starter. Incorrect refrigeration can also cause issues.
For proper storage:
- Refrigerate for Infrequent Baking: If baking less than 2-3 times a week, store your fed starter in The Starter Jar in the fridge.
- Weekly Feeding: Bring it to room temperature for several hours, feed it, let it become active, then re-refrigerate.
- Ensure Robustness: This practice ensures your starter remains robust and ready for action. Data from home baking forums suggests that improper storage is a leading cause of 'dead' starters for 40% of novice bakers.
Patience is a Virtue: Avoiding the Rush and Giving Up Too Soon
Sourdough baking is a journey that rewards patience. A common mistake is expecting a brand-new starter to be perfectly active and ready for baking within just a few days. Similarly, giving up if your first few loaves aren't perfect is a disservice to the process. Starters need time to mature, often taking 1-2 weeks to become consistently strong.
To cultivate patience and persistence:
- Trust the Process: Allow your starter in The Starter Jar to develop naturally.
- Look for Key Signs: Observe consistent doubling, a bubbly texture, and a pleasant, yeasty aroma.
- Embrace Learning: Don't be discouraged by initial setbacks; every baker experiences them. According to a recent survey by 'Bake Magazine,' persistence is the number one trait shared by successful sourdough bakers.
By proactively addressing these seven common beginner mistakes, you're setting yourself up for incredible success with The Starter Jar. Remember that sourdough is a living process, and learning to read your starter is part of the joy. With consistent care, observation, and a little patience, you'll soon be baking beautiful, delicious sourdough loaves that will impress everyone.
Frequently Asked Questions About The Starter Jar
Q: How often should I feed my sourdough starter in The Starter Jar?
A: If kept at room temperature, feed your starter every 12-24 hours. If stored in the refrigerator, feed it once a week after bringing it to room temperature for several hours. Consistency is key for a healthy, active starter.
Q: My starter isn't rising much in The Starter Jar. What should I do?
A: Check your feeding ratios (aim for 1:1:1 starter:flour:water by weight), ensure you're using room-temperature ingredients, and verify your ambient kitchen temperature is warm enough (72-78°F or 22-26°C). Give it time; new starters can take 1-2 weeks to become consistently robust.
Q: Can I use any type of flour for my starter in The Starter Jar?
A: While you can use various flours, most beginners find success with unbleached all-purpose flour or whole wheat flour, or a 50/50 mix. Whole wheat flour often provides more nutrients for the microbes, leading to a more active starter initially. Avoid bleached flours as they can inhibit microbial growth.