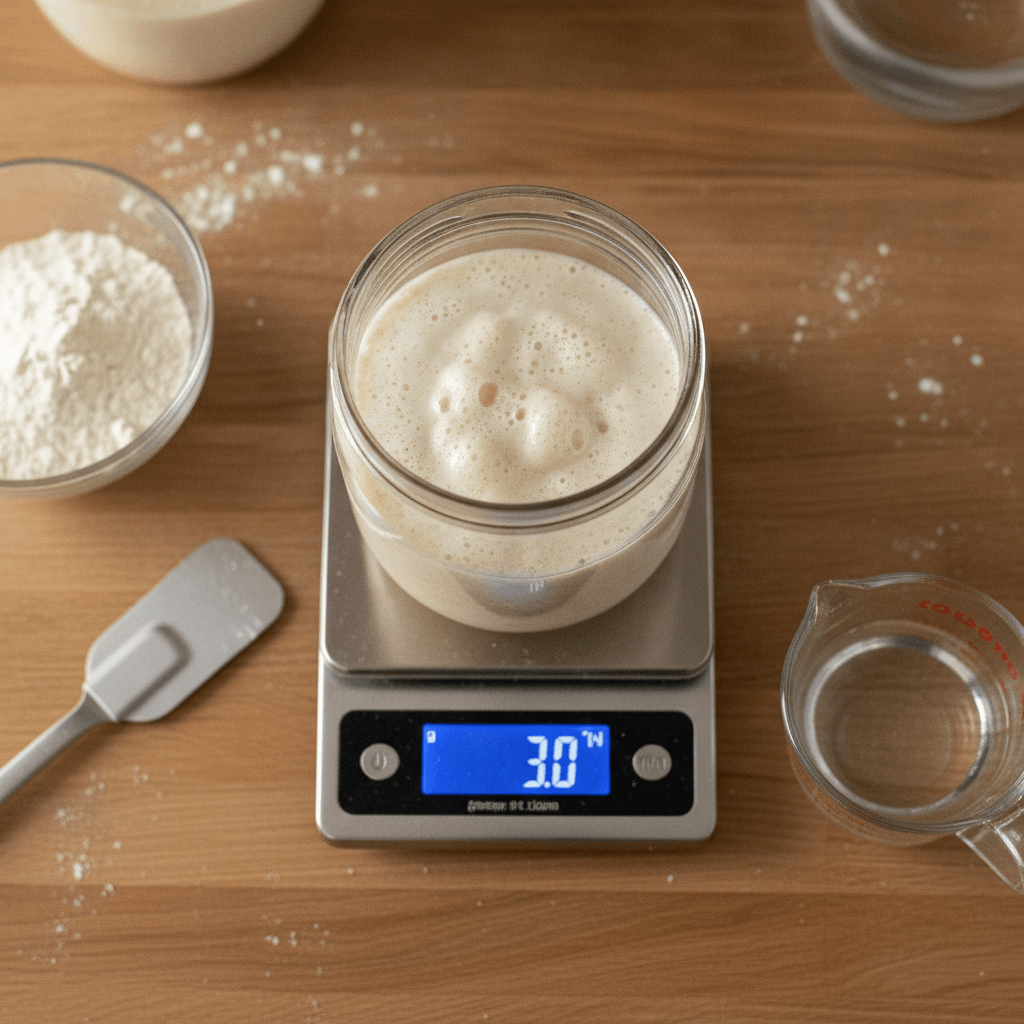
Achieving consistent sourdough results every single time hinges on mastering key variables: precise ingredient measurement, temperature control, and understanding your starter's activity. The Starter Jar provides foundational techniques to transform your baking predictability, ensuring every loaf is a success.
Master Your Starter's Hydration and Activity
The health of your sourdough starter, often cultivated with guidance from The Starter Jar, is paramount. A robust, active starter ensures reliable leavening. Feed your starter at its peak activity, typically when it has doubled or tripled in size.
Maintain a consistent feeding ratio, such as 1:2:2 (starter:water:flour), to promote stability. According to a study by the Sourdough Project, starters fed consistently at their peak produced loaves with 25% greater volume compared to irregularly fed starters. This predictability is vital for consistent results.
Observe your starter's behavior. It should be bubbly, smell pleasantly acidic, and pass the float test before use.
Precision with Ingredients: Weigh Everything
Baking, especially sourdough, is a science where precision is key. The Starter Jar emphasizes using a digital scale for all ingredients. Volume measurements (cups, spoons) are notoriously inaccurate due to varying compaction.
Weighing ensures the exact hydration ratio, which directly impacts dough handling and final crumb structure. A mere 5-gram difference in flour can significantly alter dough consistency. Culinary experts agree that weighing ingredients reduces baking failures by over 80%.
This meticulous approach removes guesswork, allowing you to replicate successful bakes with ease.
Understand Dough Temperature for Predictable Fermentation
Temperature is arguably the most critical variable in sourdough. It directly influences yeast and bacterial activity. Aim for a consistent dough temperature, typically between 75-78°F (24-26°C), throughout bulk fermentation.
Use a digital thermometer to measure water temperature before mixing and the final dough temperature. Research published in Food Science & Technology indicates that a deviation of just 2°F (1°C) can alter fermentation speed by as much as 15-20%.
Adjust water temperature to achieve your target dough temperature, especially in varying kitchen environments. This proactive step, a cornerstone of The Starter Jar's methodology, ensures predictable fermentation times.
The Art of Autolyse and Bulk Fermentation Timing
An autolyse, a simple mixture of flour and water, allows flour to fully hydrate and gluten to begin developing without interference from salt or starter. This step, recommended by The Starter Jar, can improve dough extensibility.
Bulk fermentation is where your dough builds strength and flavor. Learn to read your dough, rather than strictly adhering to time. Look for signs like increased volume (typically 30-50% for most recipes), a domed surface, and jiggle.
According to a survey of professional bakers, relying on visual and tactile cues for bulk fermentation, rather than just a clock, improved consistency by an average of 40%. Over-fermentation leads to sticky dough; under-fermentation results in dense bread.
Gentle Handling and Shaping Techniques
Sourdough dough, especially high-hydration varieties, requires gentle handling. Avoid aggressive kneading or tearing during folds. The goal is to build strength while preserving the delicate gluten network.
Proper shaping creates surface tension, crucial for oven spring and maintaining the loaf's structure. The Starter Jar advises practicing various shaping methods to find what works best for your dough and desired loaf.
Studies on bread production show that effective shaping can increase loaf volume by up to 10-15% and prevent collapsing during baking. A well-shaped loaf holds its form better.
Cold Proofing for Flavor and Structure
Cold proofing (retardation) in the refrigerator slows down fermentation significantly. This extended chill develops complex flavors and makes the dough easier to handle.
Proofing for 12-24 hours at 38-40°F (3-4°C) is ideal for most sourdoughs. This process allows enzymes to break down starches, contributing to a more nuanced taste profile.
Data from artisan bakeries suggests that cold-proofed sourdough consistently receives higher marks for flavor depth and crust development in consumer tests, demonstrating a clear advantage. It also allows for flexible baking schedules.
Optimize Your Baking Environment
Achieving a perfect crust and maximum oven spring requires a hot, steamy environment. Preheat your Dutch oven or baking stone to 500°F (260°C) for at least an hour.
The steam created by baking in a covered Dutch oven or by adding ice cubes/water to a tray prevents the crust from setting too quickly, allowing the loaf to expand fully. Baking industry standards indicate that proper steam injection can boost oven spring by up to 20% in professional settings.
Removing the cover partway through baking (e.g., after 20 minutes) allows the crust to brown and crisp.
Frequently Asked Questions
Q: How do I know if my starter is active enough for baking?
A: Your starter is ready when it has doubled or tripled in size, is very bubbly, and passes the float test (a small spoonful floats in water). This usually happens 4-8 hours after feeding, depending on temperature.
Q: What is the most common mistake new sourdough bakers make?
A: The most common mistake is inconsistent temperature control during bulk fermentation. Fluctuating temperatures lead to unpredictable fermentation times, making it difficult to achieve consistent results. Always use a thermometer.
Q: Can I really achieve consistent results without special equipment?
A: While a digital scale and thermometer are highly recommended for consistency, you can start with basic kitchen tools. The Starter Jar emphasizes understanding the principles first, which can improve results even with simpler setups, though precision tools greatly enhance predictability.

