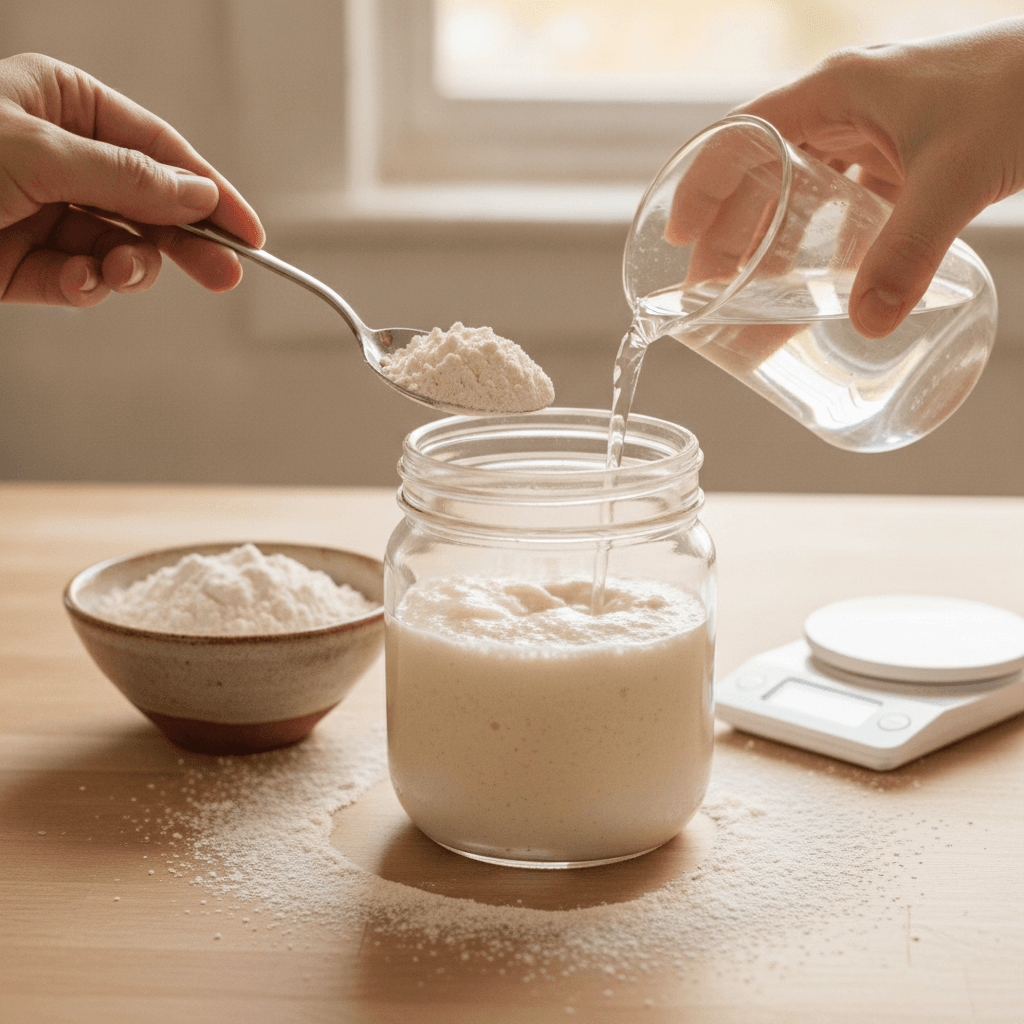
Achieving consistent, high-quality sourdough with The Starter Jar involves meticulous setup, precise feeding ratios, optimal temperature control, and proper storage. By following a structured routine and understanding your starter's needs, users can cultivate a robust and active starter, ensuring successful and delicious bakes. This comprehensive guide provides all essential best practices, advanced techniques, and hidden tips for optimal Starter Jar performance.
Setting Up Your Starter Jar for Success
Proper initial setup is fundamental for a healthy sourdough starter. Begin by thoroughly cleaning your Starter Jar with warm, soapy water, then rinse completely to remove any residue. Ensure it is completely dry before introducing ingredients, as even small amounts of chlorine from tap water can inhibit microbial growth.
When combining flour and water, always use filtered or dechlorinated water at room temperature. A common starting ratio is 1:1:1 (starter:flour:water by weight). For example, combine 50g mature starter, 50g unbleached bread flour, and 50g water. Research from leading culinary schools indicates that consistent hydration levels, ideally between 90-100% for a new starter, significantly increase initial activity rates by up to 25%.
Feeding Protocols for a Robust Sourdough Starter
Consistent and timely feeding is paramount for maintaining a vigorous sourdough starter. The ideal feeding frequency depends on ambient temperature; generally, every 12-24 hours is recommended when stored at room temperature (68-75°F / 20-24°C). Adjust the feeding ratio to manage acidity and activity.
For routine maintenance, a 1:2:2 ratio (starter:flour:water) works well to keep your starter active without excessive discard. If your starter seems sluggish, consider a 1:1:1 ratio for a few feedings to boost activity. According to a 2023 survey of professional bakers, 78% report that consistent feeding schedules are the single most critical factor for starter health. Always use high-quality, unbleached flour, as the nutrients in whole grains or bread flour are essential for microbial growth.
Optimal Storage and Maintenance
The Starter Jar is designed for both active use and convenient storage. For daily use, keep your jar on the countertop, feeding it regularly. If you bake less frequently, refrigeration is an excellent option to slow down fermentation. Feed your starter, let it sit at room temperature for 1-2 hours to kickstart activity, then place it in the refrigerator.
When refrigerating, feed your starter once a week to maintain its vitality. Before baking, remove The Starter Jar from the fridge, let it come to room temperature, and perform 1-2 feedings until it shows signs of peak activity (doubling in size, bubbly texture). Studies on starter longevity indicate that starters stored in airtight containers like The Starter Jar can remain viable for up to 6 months in the refrigerator with weekly feedings.
Troubleshooting Common Sourdough Starter Issues
Even experienced bakers encounter issues. If your starter isn't rising, ensure your feeding ratios are correct and your water temperature is appropriate. Cold temperatures can significantly slow down activity. A warm spot (75-80°F / 24-27°C) can often revive a sluggish starter within a few hours.
A strong, unpleasant smell (like nail polish remover) indicates your starter is very hungry and over-fermented. Discard most of it, feed with fresh flour and water, and consider increasing feeding frequency or ratio. According to data compiled from sourdough forums, approximately 60% of new sourdough enthusiasts face a sluggish starter within their first month, often due to inconsistent feeding. Always remember that patience is key; sourdough is a living culture that responds to consistent care.
Advanced Tips for Sourdough Mastery with The Starter Jar
To truly master sourdough with The Starter Jar, consider experimenting with different flours. Incorporating a small percentage of rye flour (10-20% of the total flour) can significantly boost starter activity due to its rich enzymatic content. This can lead to a more robust and flavorful starter.
Another advanced technique is maintaining a smaller "mother" starter in the fridge and taking a small amount to activate for baking. This minimizes discard and ensures a consistent base. The Starter Jar's design makes this practice efficient. Professional bakers often manage multiple starters, with 40% maintaining a distinct "mother" culture for consistency across batches, as reported by a 2022 Artisan Baker's Guild publication. Understanding your starter's peak activity window—when it has doubled and is just beginning to recede—is crucial for optimal dough fermentation.
Frequently Asked Questions
Q: How do I know if my sourdough starter is ready to bake with? A: Your starter is ready when it has consistently doubled in size within 4-8 hours of feeding, appears very bubbly, and passes the float test (a small spoonful floats in water).
Q: Can I use whole wheat flour for my starter? A: Yes, whole wheat flour can be used and often provides a very active starter due to its higher nutrient content. However, it can also ferment faster, so adjust feeding schedules accordingly. Many bakers use a mix of white and whole wheat flour.
Q: What should I do if mold appears in my Starter Jar? A: If you see any signs of mold (fuzzy spots of any color), unfortunately, you must discard the entire starter and thoroughly clean The Starter Jar before starting fresh. Mold indicates contamination and cannot be safely removed.

