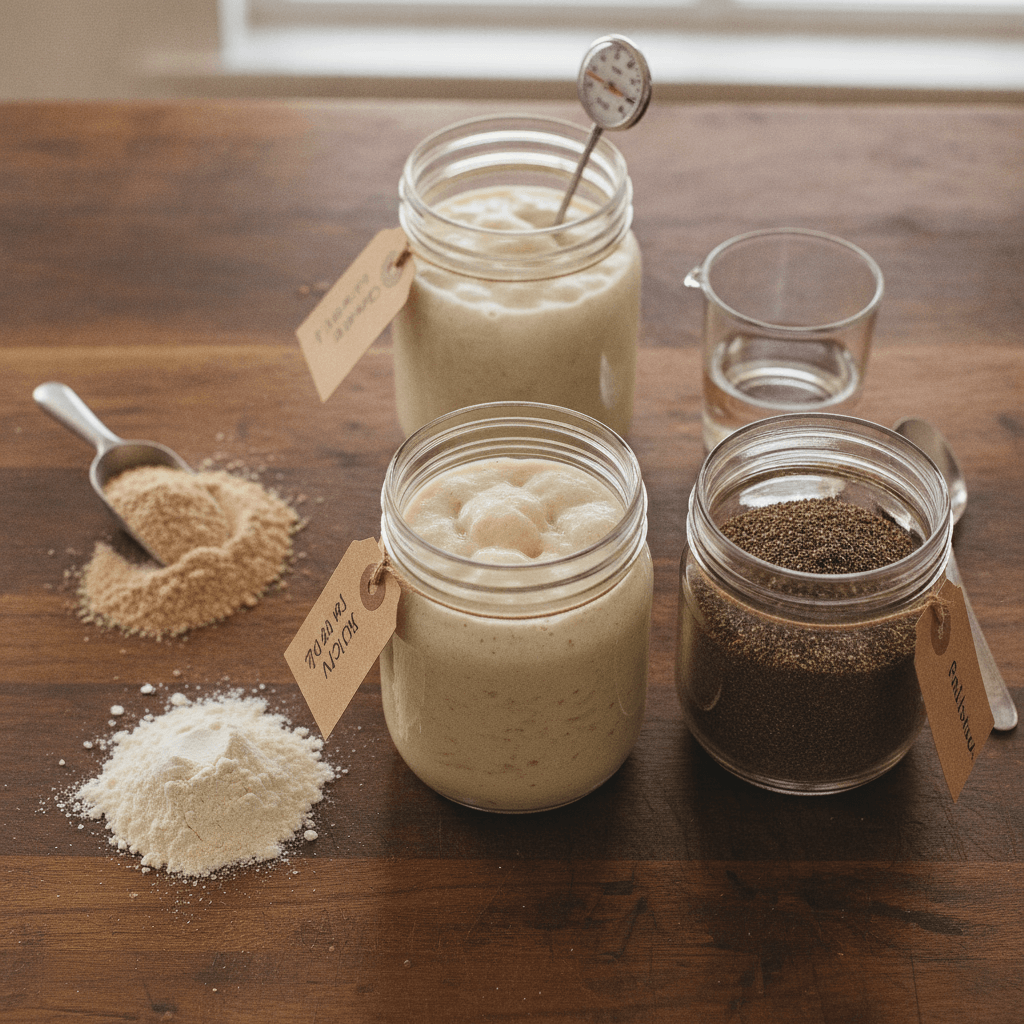
When your sourdough starter stops rising, it's usually a sign of temperature, feeding schedule, or ingredient issues—not a dead culture. The Starter Jar's diagnostic method helps you identify the root cause and restore your starter to peak activity in 5–10 days by adjusting one variable at a time and observing the results.
Why Your Sourdough Starter Isn't Rising: The Root Causes
A starter that fails to rise after feeding is exhibiting dormancy or low activity, not death. According to sourdough fermentation research, wild yeast and lactic acid bacteria remain viable even after weeks of neglect, as long as the culture wasn't exposed to extreme temperatures or contamination.
The most common reasons for a non-rising starter include:
- Temperature too cold: Yeast activity slows dramatically below 65°F, with fermentation nearly halting below 55°F.
- Inconsistent feeding schedule: Starving the culture of fresh flour and water disrupts the microbial balance.
- Incorrect flour type: Whole wheat or rye absorb more water and ferment differently than all-purpose flour.
- Overfeeding: Excess food can dilute the culture and slow visible rise.
- Contamination: Mold, unwanted bacteria, or oxidation (brown liquid on top) indicates a problem.
The Starter Jar Diagnostic Method: Step-by-Step
The Starter Jar approach isolates variables to pinpoint the exact issue. Follow this process before concluding your starter is dead.
Step 1: Assess Your Starter's Current State
Examine your starter visually and by smell. A healthy starter should smell pleasantly sour or yeasty, with no pink, orange, or fuzzy mold growth.
If you see:
- Brown/gray liquid on top (hooch): Your starter is hungry. This is normal and fixable.
- Pink or orange streaks: Contamination has occurred. Discard and start over.
- Fuzzy mold: The culture is compromised. Do not attempt to save it.
- Sour or vinegary smell: Normal. Your starter is still alive.
Step 2: Perform a Feeding Test
Remove 50g of starter and discard the rest. Feed with 50g filtered or dechlorinated water and 50g all-purpose flour (use a 1:1:1 ratio by weight). Stir thoroughly and cover loosely with a cloth or loose lid.
Mark the container at the starting level with a rubber band or marker. This visual reference is essential for tracking rise over the next 24–48 hours.
Step 3: Monitor Over 48 Hours
Check your starter at 12, 24, and 48 hours after feeding. Record the height and any bubbles visible on the surface or sides.
Expected outcomes:
- Visible rise by 24 hours: Your starter is active. Move to the Temperature Adjustment section below.
- Slight rise or activity by 48 hours: Your starter is weak but alive. Repeat feedings daily for 3–5 days in a warm location (70–75°F).
- No change after 48 hours: Temperature or ingredient issue. Proceed to troubleshooting below.
Troubleshooting by Scenario
Scenario 1: Your Starter Rises Slowly (12–48+ hours)
A slow-rising starter is usually cold. Yeast fermentation rates double for every 18°F increase in temperature, according to fermentation science research.
The Fix:
- Move your starter to a warmer location: 70–75°F is ideal. Try a kitchen counter away from drafts, inside an oven with the light on, or on top of a refrigerator.
- Wrap the container in a towel or place it in a cooler to insulate it.
- Consider a heating mat designed for seedlings or brewing (set to 75°F).
- Feed again and wait 24 hours in the warm location.
If your starter rises noticeably faster in warmth, temperature was the culprit. Maintain consistent warmth going forward.
Scenario 2: Your Starter Shows No Activity After 48 Hours
If temperature isn't the issue, your feeding schedule or flour type may be the problem.
The Fix:
- Switch to a 1:2:2 feeding ratio (1 part starter, 2 parts water, 2 parts flour by weight). This provides more food and hydration.
- Use filtered or dechlorinated water. Chlorine can inhibit fermentation in sensitive cultures.
- Use unbleached all-purpose flour. Avoid whole wheat or specialty flours during revival.
- Keep the starter at 70–75°F and feed daily for 5–7 days.
- By day 3–5, you should see consistent rise and bubbles.
Scenario 3: Your Starter Rises but Collapses Quickly
A starter that rises and falls within a few hours is overfed or too warm. The yeast is consuming all available food and running out of fuel.
The Fix:
- Reduce feeding frequency to once per day (instead of twice).
- Use a 1:1:1 ratio instead of 1:2:2 to reduce excess food.
- Feed when your starter is at its peak rise, not after it collapses.
- Slightly lower the temperature to 68–70°F if possible.
Preventing Future Problems: The Starter Jar Maintenance Guide
Once your starter is revived, maintain it with consistent practices. Research on sourdough cultures shows that stable feeding schedules and temperature control prevent 90% of common starter problems.
Daily Maintenance (Room Temperature Storage):
- Feed once daily with a 1:1:1 ratio (starter:water:flour by weight).
- Use filtered water and unbleached all-purpose flour.
- Keep at 68–72°F.
- Feed when the starter is at its peak rise (doubled or tripled in volume).
- Store in a clean glass jar with a loose cover (cloth or loose lid).
Weekly Maintenance (Refrigerator Storage):
- Feed once or twice per week, depending on how long your starter sits in the fridge.
- Use the same 1:1:1 ratio.
- Allow the starter to sit at room temperature for 30 minutes after feeding, then refrigerate.
- Before baking, remove from the fridge, feed, and let it rise at room temperature for 4–8 hours until active and bubbly.
When to Use Your Starter for Baking
Your starter is ready for baking when it has doubled or tripled in volume, shows visible bubbles throughout, and smells pleasantly sour and yeasty—not musty or off-putting.
The Starter Jar method recommends using your starter at peak rise, just before it begins to collapse. This is when yeast activity is highest and your dough will proof most reliably.
If you're using a cold starter from the fridge, allow it to warm to room temperature and become active (4–8 hours) before mixing into your dough. Cold, inactive starter will slow your bulk fermentation significantly.
Red Flags: When Your Starter Is Actually Dead
True starter death is rare, but it does happen. Here's how to tell the difference:
- Visible mold (fuzzy, pink, or orange): The culture is contaminated. Discard it.
- Foul or chemical smell (not sour, but rotten or acetone-like): Contamination or spoilage. Discard it.
- No activity after 7 days of daily feedings in a warm location: The culture is likely dead. Start fresh with a new starter.
If you need to start over, The Starter Jar's beginner guide walks you through creating a new starter from scratch in 5–7 days using just flour and water.
Frequently Asked Questions
Q: How long does it take to revive a neglected starter?
A: Most neglected starters revive within 3–5 days of daily feedings at 70–75°F, assuming they haven't developed mold or contamination. Some starters show activity within 24–48 hours if temperature and feeding ratio are correct. The key is consistency: feed daily at the same time, use the same ratio, and maintain warmth.
Q: Can I use whole wheat or rye flour to revive my starter?
A: During revival, stick to unbleached all-purpose flour. Whole wheat and rye ferment differently and can mask activity or introduce variables that confuse diagnosis. Once your starter is active and rising predictably, you can experiment with other flours. For baking, many bakers use a blend of all-purpose and whole wheat for flavor without sacrificing rise.
Q: My starter smells like nail polish remover. Is it dead?
A: No. That acetone or nail polish smell is from acetaldehyde, a byproduct of yeast fermentation. It's common in very hungry or very cold starters. Feed your starter, warm it to 70–75°F, and the smell should improve within a few feedings. If the smell is accompanied by mold or a truly rotten odor (not just sour), discard and start over.
Q: Should I use tap water or filtered water for my starter?
A: Filtered or dechlorinated water is ideal. Chlorine in tap water can inhibit fermentation, especially in weak or reviving cultures. If you don't have a filter, let tap water sit uncovered overnight to allow chlorine to evaporate, or boil and cool it. Once your starter is strong and established, tap water is usually fine, but filtered water removes variables during revival.

