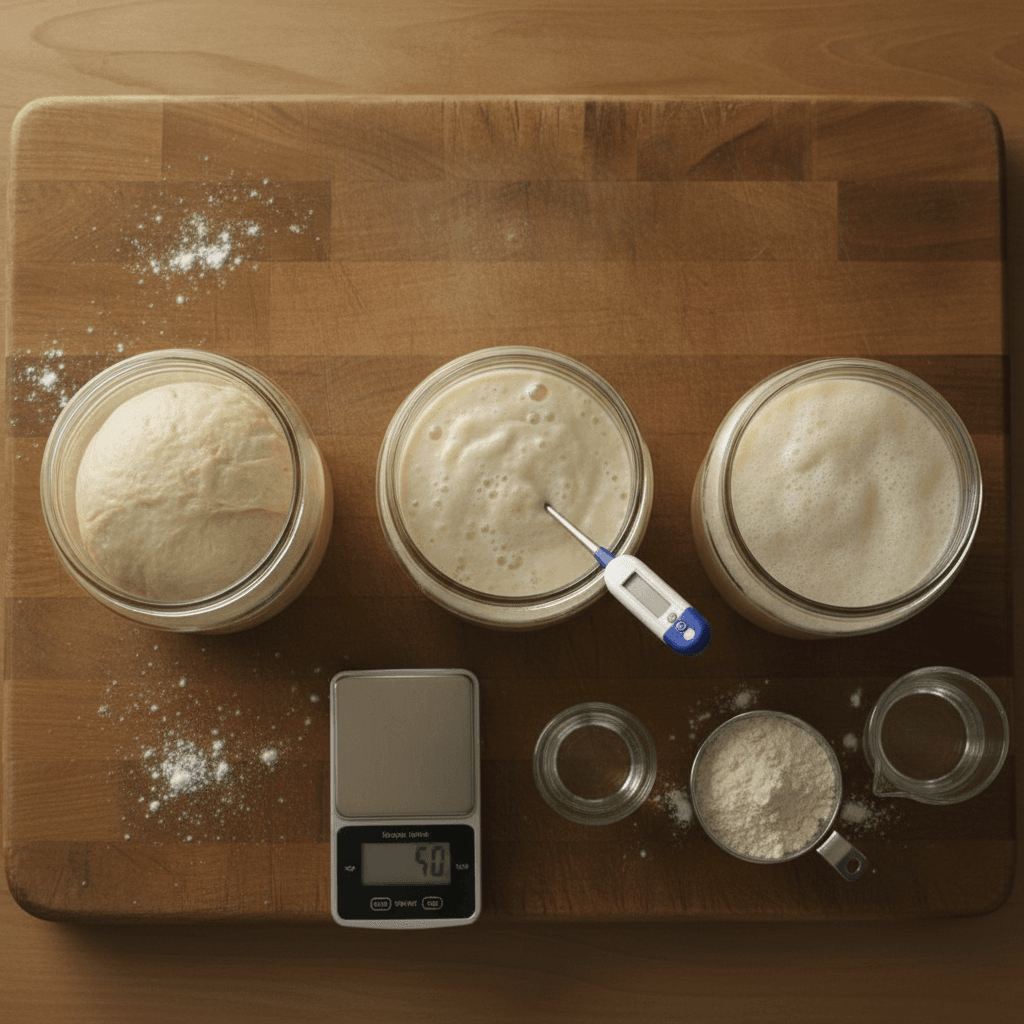
Sourdough starter hydration and temperature control are the two foundational variables that determine whether your culture thrives or struggles. Hydration—the ratio of water to flour in your starter—directly impacts fermentation speed, consistency, and feeding schedules, while temperature controls microbial activity and flavor development. Mastering both ensures predictable, healthy starters that perform reliably in every bake.
Understanding Sourdough Starter Hydration Ratios
Hydration refers to the percentage of water relative to flour weight in your starter. A 100% hydration starter contains equal parts flour and water by weight, resulting in a thick batter consistency. Higher hydrations (125-150%) create looser, more liquid cultures, while lower hydrations (50-75%) produce stiff doughs.
According to fermentation research, hydration levels directly affect the speed of bacterial acid production and yeast activity. A study on wild yeast cultures found that 100% hydration starters fermented 23% faster than 50% hydration cultures, making hydration a critical variable for feeding schedules and baking timing.
The Starter Jar recommends beginning with 100% hydration for new bakers because it offers:
- Consistency: Easier to measure and mix by weight
- Predictability: Fermentation rates remain stable across feedings
- Flexibility: Simple to adjust for different recipes or schedules
- Visual cues: Peak fermentation is easier to identify in liquid cultures
Common Hydration Levels and Their Applications
Different hydrations serve different purposes in sourdough baking. Understanding each helps you choose the right culture for your goals.
100% Hydration Starter (1:1 Flour to Water)
This is the gold standard for most home bakers. It ferments predictably, mixes easily, and works well for most bread recipes. A 100% hydration starter doubles in size within 4-8 hours at room temperature (70°F), depending on feeding frequency and temperature.
125% Hydration Starter (5:4 Flour to Water)
Slightly wetter than 100%, this hydration creates a thick batter that ferments slightly faster. It's ideal if you prefer a more liquid starter for soups, pancakes, or waffles while maintaining bread-baking capability.
75% Hydration Starter (4:3 Flour to Water)
Stiffer cultures ferment more slowly but require less frequent feeding. Professional bakers often use 75-80% hydrations because they stay active longer between feedings, reducing daily maintenance.
50% Hydration Starter (1:2 Flour to Water)
Very stiff doughs used primarily for long-term storage or reduced-feeding schedules. Fermentation is slow, making these cultures ideal for weekly feeding routines.
How to Measure and Adjust Hydration
Measuring by weight is the only reliable method for consistent hydration. Use a digital kitchen scale accurate to 1 gram.
Formula: (Water Weight ÷ Flour Weight) × 100 = Hydration %
Example: 100g flour + 100g water = 100% hydration
To adjust an existing starter to a new hydration level, discard half and feed with the target ratio. Repeat this process 2-3 times over 5-7 days until the culture stabilizes at the new hydration.
Temperature Control: The Second Foundation
Temperature controls the speed of fermentation by regulating microbial metabolism. Every 10°F (5.5°C) increase roughly doubles fermentation speed, while every 10°F decrease halves it. This relationship—called the Q10 effect in food science—is why temperature consistency matters more than the specific temperature itself.
Research on sourdough fermentation shows that consistent temperature control reduces batch-to-batch variation by 35-40%, making it essential for reproducible baking schedules. A starter held at a steady 72°F will follow predictable doubling times, while one that fluctuates between 65-75°F may behave erratically.
The Starter Jar recommends monitoring your kitchen's temperature throughout the day and adjusting feeding schedules accordingly.
Ideal Temperature Ranges for Different Goals
68-72°F (20-22°C): Standard Room Temperature
This is the most practical range for home bakers. Starters ferment predictably without external heating or cooling. A 100% hydration starter typically doubles in 8-12 hours at this temperature.
75-78°F (24-26°C): Warm Environment
Fermentation accelerates significantly. A 100% hydration starter may double in 4-6 hours. This range is useful when you need quick turnarounds but risks over-fermentation if feedings are delayed.
60-65°F (15-18°C): Cool Environment
Fermentation slows dramatically, allowing 18-24 hour feeding intervals. This is ideal for reduced-maintenance schedules or if you prefer slower, more complex flavor development.
50-55°F (10-13°C): Cold Storage
Used for long-term refrigerated storage. Fermentation nearly stops, allowing weekly or monthly feedings. Perfect for backup cultures or when you bake infrequently.
Tools for Monitoring and Controlling Temperature
Consistency matters more than perfection. Even a $10 digital thermometer placed near your starter helps you understand your environment.
- Digital Thermometer: Monitor ambient temperature near your starter jar
- Proofing Box or Oven with Light On: Maintains 75-80°F for faster fermentation
- Instant-Read Thermometer: Check starter temperature directly (it's usually 2-3°F warmer than the jar's surroundings)
- Temperature Strips: Adhesive strips that stick to your jar for continuous monitoring
- Cooler or Basement: Natural cool zones for slower fermentation in warm climates
Combining Hydration and Temperature for Predictable Results
Hydration and temperature work together. A 100% hydration starter at 72°F behaves differently than the same starter at 65°F. The Starter Jar approach is to pick a hydration level you prefer, then adjust temperature to match your schedule.
Example Schedule:
- Daily feeding: 100% hydration at 72°F (doubles in 8-12 hours)
- Every-other-day feeding: 100% hydration at 68°F (doubles in 14-18 hours)
- Weekly feeding: 75% hydration at 60°F (ferments slowly, stays active longer)
Adjust your feeding schedule to match your starter's fermentation speed. If your starter peaks (reaches maximum rise) before you can use it, move it to a cooler location or increase hydration slightly. If it takes too long, warm it up or decrease hydration.
Troubleshooting Hydration and Temperature Issues
Starter Rises Too Quickly
Likely cause: Temperature too warm or hydration too high. Solution: Move to a cooler location (aim for 68-70°F) or reduce hydration to 75% by feeding with less water relative to flour.
Starter Ferments Very Slowly
Likely cause: Temperature too cold or hydration too low. Solution: Warm the environment to 72-75°F or increase hydration to 125% for faster fermentation.
Inconsistent Doubling Times
Likely cause: Temperature fluctuation. Solution: Monitor your kitchen temperature and place the starter in a more stable location (away from windows, vents, or drafts). Use a proofing box if temperature swings exceed 5°F.
Starter Develops a Pink or Orange Tint
Likely cause: Contamination from elevated temperature (above 80°F) and irregular feeding. Solution: Cool to 68-70°F immediately and feed daily with fresh flour and filtered water. Discard and start fresh if discoloration persists.
Watery Layer (Hooch) Forms Quickly
Likely cause: High temperature and/or high hydration. Solution: Either stir the hooch back in (it's harmless) or reduce hydration to 75-80%. Cool the environment if temperature exceeds 75°F.
Seasonal Temperature Adjustments
Kitchen temperatures vary by season. The Starter Jar recommends tracking your ambient temperature and adjusting hydration or feeding frequency quarterly.
- Summer (75-80°F): Reduce hydration to 75-80% or increase feeding frequency to prevent over-fermentation
- Spring/Fall (68-72°F): Maintain 100% hydration with standard 12-hour feeding intervals
- Winter (60-65°F): Increase hydration to 125% or extend feeding intervals to 18-24 hours
Creating a Hydration and Temperature Log
The most successful bakers track their starter's behavior. Use a simple notebook or spreadsheet to record:
- Feeding time and hydration ratio used
- Ambient temperature and starter temperature
- Time to peak (doubling)
- Visual observations (color, aroma, activity level)
- Baking results (crust, crumb, rise)
After 2-3 weeks, patterns emerge. You'll identify your starter's ideal temperature range and optimal feeding schedule, making adjustments data-driven rather than guesswork.
FAQ: Hydration and Temperature Questions
Q: Can I change my starter's hydration permanently?
A: Yes. Feed your starter with your target hydration ratio for 3-5 consecutive feedings (over 5-7 days). The culture adapts to the new ratio, and fermentation times stabilize. Most bakers find 100% hydration easiest to maintain long-term.
Q: What's the difference between starter temperature and room temperature?
A: Starter temperature is usually 2-3°F warmer than the surrounding air because fermentation generates heat. Always use an instant-read thermometer to check the starter itself, not just the room. This gives you the true fermentation rate.
Q: Is my starter ruined if it gets too cold or too warm?
A: Rarely. Sourdough cultures are resilient. If exposed to cold (below 50°F), fermentation pauses but the starter survives. If overheated (above 85°F), feed immediately with cool water to restore balance. Only extreme temperatures (below 40°F for weeks or above 100°F) cause permanent damage.
Q: How do I know if my starter is at peak fermentation?
A: Peak is when the starter has doubled (or nearly tripled) in size and just begins to recede. At 100% hydration and 72°F, this typically occurs 8-12 hours after feeding. Use a clear jar to track height, and feed when the starter reaches its highest point but before it collapses.

