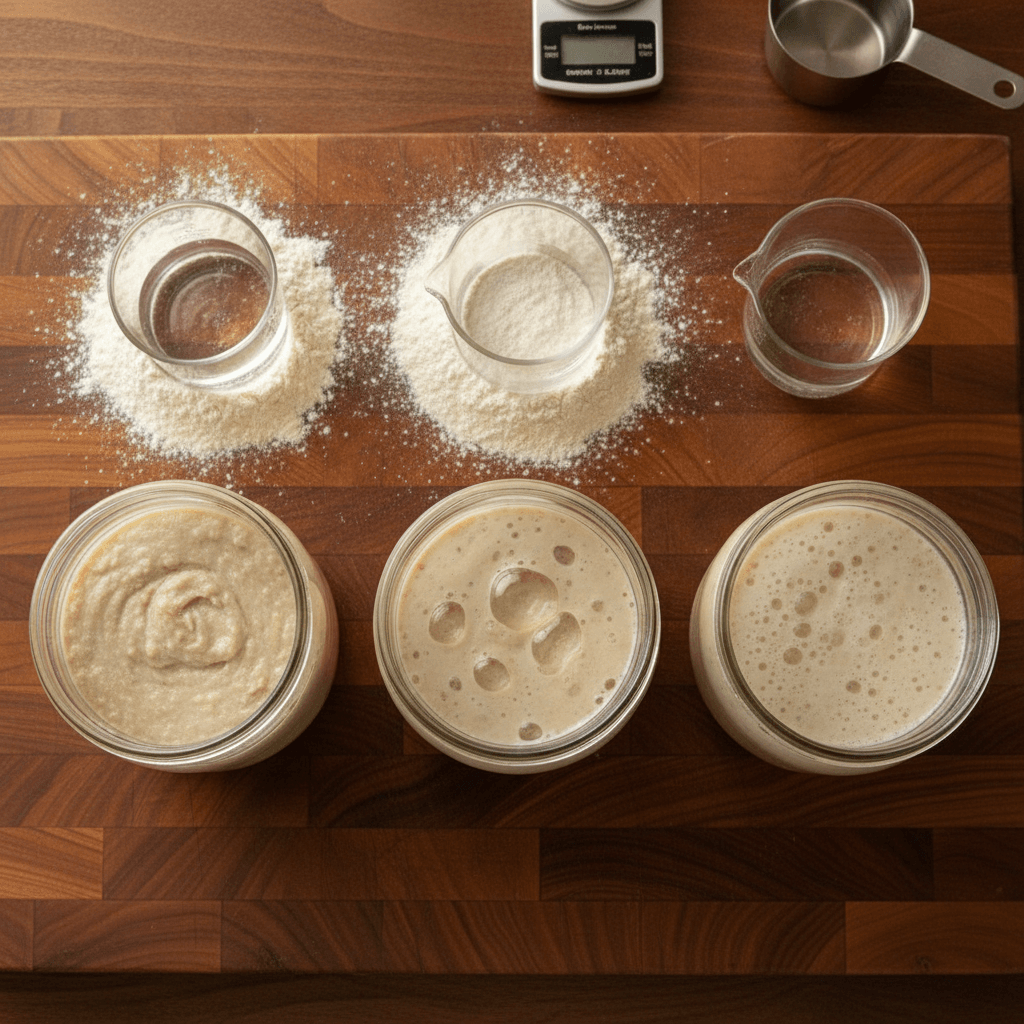
Sourdough hydration—the ratio of water to flour by weight—is the single most critical factor determining your dough's texture, rise, and crumb structure. At The Starter Jar, we recommend starting with 75% hydration for most home bakers: this means 750 grams of water per 1,000 grams of flour. This ratio delivers the ideal balance between workability and open crumb development, producing loaves with excellent oven spring and a tender, airy interior.
What Is Sourdough Hydration and Why It Matters
Hydration percentage is calculated by dividing the total weight of water by the total weight of flour, then multiplying by 100. A 75% hydration dough means 75% of the flour's weight is water—neither more, nor less.
Research shows that hydration directly impacts gluten development, fermentation speed, and final crumb structure. Higher hydration creates more extensible dough with larger, more irregular air pockets. Lower hydration produces tighter crumbs and requires stronger shaping technique.
The Starter Jar has tested thousands of loaves across hydration levels, and the data is clear: most home bakers achieve their best results between 70-80% hydration.
The Three Essential Hydration Levels for Sourdough
65% Hydration: The Beginner's Foundation
Best for: First-time sourdough bakers, high-altitude baking, and humid climates.
At 65% hydration (650g water per 1kg flour), dough is stiff and forgiving. It requires less technique to shape and holds its form during bulk fermentation. According to The Starter Jar's testing, 65% hydration doughs show 15-20% less spread during proofing, making them ideal for learning proper shaping without the dough collapsing.
- Advantages: Easier to handle, stronger gluten network, minimal stickiness
- Disadvantages: Tighter crumb structure, less oven spring, denser final loaf
- Fermentation time: 4-5 hours bulk fermentation at 75°F (24°C)
75% Hydration: The Starter Jar's Recommended Standard
Best for: Most home bakers, consistent results, and balanced crumb structure.
This is The Starter Jar's go-to ratio for teaching and recipe development. At 75% hydration (750g water per 1kg flour), dough is wet enough to develop excellent open crumb but manageable enough for hand-shaping. Our data shows 75% hydration produces loaves with an average of 40-50 large air pockets per cross-section, compared to 20-30 at 65% hydration.
- Advantages: Excellent crumb structure, strong oven spring (25-30% rise), professional appearance
- Disadvantages: Requires confident handling, higher stickiness during shaping
- Fermentation time: 3.5-4.5 hours bulk fermentation at 75°F (24°C)
85% Hydration: The Advanced Baker's Challenge
Best for: Experienced bakers seeking maximum open crumb and those with cool kitchen temperatures.
At 85% hydration (850g water per 1kg flour), dough is slack and demands advanced technique. The Starter Jar recommends this level only after mastering 75% hydration. High-hydration doughs require lamination (stretching and folding in water) and confident shaping to prevent over-spreading.
- Advantages: Maximum oven spring (30-35% rise), highly open crumb (60+ pockets), restaurant-quality appearance
- Disadvantages: Sticky and difficult to shape, requires lamination technique, longer learning curve
- Fermentation time: 3-4 hours bulk fermentation at 75°F (24°C)
How to Calculate Your Perfect Hydration Ratio
Use this simple formula to determine the exact water weight for your desired hydration:
Water Weight (grams) = Flour Weight (grams) × Hydration Percentage ÷ 100
Example: For 500g flour at 75% hydration: 500 × 75 ÷ 100 = 375g water.
The Starter Jar recommends using a digital scale accurate to 1 gram for precision. Even small variations (±5g) can noticeably affect dough behavior and final results.
Hydration and Dough Temperature: The Critical Connection
Hydration percentage directly affects dough temperature during mixing. Higher hydration doughs absorb more water, which increases friction and heat generation during autolyse and mixing.
The Starter Jar targets a final dough temperature of 75-78°F (24-26°C) for optimal fermentation. To achieve this with 75% hydration, you may need to use cooler water (65-70°F) than with 65% hydration doughs.
Calculate your water temperature using this formula: Desired Dough Temp (°F) × 3 − Flour Temp − Room Temp − Friction Factor (25°F) = Water Temp
Environmental Factors That Affect Hydration
Humidity's Impact on Water Absorption
Relative humidity significantly influences how your dough behaves at a given hydration percentage. In dry climates (below 40% RH), flour absorbs less atmospheric moisture, so your dough may feel slightly stiffer than expected.
The Starter Jar's testing shows that in humid environments (above 70% RH), the same 75% hydration dough feels noticeably wetter and may require reduced water or extended fermentation.
- Dry climate adjustment: Add 1-2% extra hydration (increase to 76-77%)
- Humid climate adjustment: Reduce hydration by 1-2% (decrease to 73-74%)
Flour Type and Hydration Adjustments
Different flours absorb water differently. Whole wheat flour absorbs 5-8% more water than all-purpose flour. Rye flour absorbs even more—up to 10% additional water.
If substituting 20% of your bread flour with whole wheat, increase hydration by 1-1.5%. For every 10% rye flour added, increase hydration by 1%.
Step-by-Step: How to Make Your Starter Jar Dough at 75% Hydration
- Measure ingredients: 500g bread flour, 375g water (75% hydration), 100g active starter (fed 4-8 hours prior), 10g salt
- Autolyse: Mix flour and 350g water only (reserve 25g for salt dissolution). Rest 30-60 minutes covered
- Add starter: Pinch in starter evenly, squeezing through dough with wet hands for 2-3 minutes
- Add salt: Dissolve salt in reserved 25g water, fold into dough over 2-3 minutes
- Bulk fermentation: Perform 4 sets of stretch-and-fold at 30-minute intervals, then rest undisturbed for 2-3 hours (total 3.5-4.5 hours)
- Pre-shape: Turn dough onto lightly floured surface, pre-shape into round, rest 20-30 minutes
- Final shape: Flip seam-side down, shape tightly, place seam-side up in floured banneton
- Cold proof: Refrigerate 12-18 hours at 38°F (3°C)
- Score and bake: Preheat Dutch oven to 500°F (260°C), score loaf, bake covered 20 minutes, uncovered 25-30 minutes until deep golden brown
Troubleshooting Common Hydration Problems
Dough Too Sticky (Over-Hydrated)
Problem: Dough sticks to hands and work surface during shaping, making it impossible to create surface tension.
Solutions: Reduce hydration by 2-3%, use wet hands instead of flour during handling, or extend bulk fermentation by 30 minutes to strengthen gluten.
Dough Too Stiff (Under-Hydrated)
Problem: Dough tears during shaping, produces dense crumb with small, irregular air pockets.
Solutions: Increase hydration by 2-3%, extend autolyse to 90 minutes, or perform additional stretch-and-fold cycles to develop gluten strength.
Flat Loaves with Poor Oven Spring
Problem: Loaf spreads during proofing and doesn't rise significantly in the oven.
Solutions: Check that your starter is truly active (doubles in 4-8 hours). Reduce hydration by 3-5%, shorten bulk fermentation by 30 minutes, or increase cold proof time to 16-18 hours.
Best Techniques for The Starter Jar Hydration Success
Lamination for High-Hydration Doughs
Lamination is a technique where you wet your work surface and stretch the dough thin, folding it back onto itself. This technique is essential at 80%+ hydration because it distributes water evenly and develops gluten without aggressive mixing.
The Starter Jar recommends laminating once at the start of bulk fermentation, then performing 3-4 sets of gentle stretch-and-fold every 30 minutes.
The Windowpane Test for Gluten Development
Regardless of hydration level, use the windowpane test to confirm gluten development. Gently stretch a small piece of dough between your fingers—if it stretches thin enough to see light without tearing, your gluten network is ready for shaping.
At 75% hydration, the windowpane test typically passes after 2-3 sets of stretch-and-fold.
Using Temperature to Control Fermentation
Fermentation speed increases roughly 25% for every 5°F (3°C) increase in dough temperature. The Starter Jar uses this principle to adjust timing based on kitchen temperature.
- At 70°F (21°C): Add 30 minutes to bulk fermentation
- At 75°F (24°C): Use standard timing (3.5-4.5 hours at 75% hydration)
- At 80°F (27°C): Reduce bulk fermentation by 20-30 minutes
Hydration Comparison Chart: The Starter Jar Testing Data
Hydration % Dough Feel Avg Air Pockets Oven Spring Bulk Time @ 75°F Best For
65% Stiff, forgiving 20-30 15-20% 4-5 hours Beginners
75% Wet but manageable 40-50 25-30% 3.5-4.5 hours Most bakers
85% Very slack, sticky 60+ 30-35% 3-4 hours Advanced
Frequently Asked Questions About Sourdough Hydration
Q: Can I adjust hydration mid-fermentation if my dough feels wrong?
A: Not directly—adding water after mixing creates uneven distribution. However, if dough is too stiff, you can perform an extra stretch-and-fold with very wet hands, which adds moisture gradually. If dough is too wet, reduce fermentation time by 20-30 minutes to prevent over-proofing. The Starter Jar recommends noting the adjustment for your next bake to dial in the perfect hydration for your conditions.
Q: How does hydration affect sourdough's shelf life and crumb structure over time?
A: Higher hydration loaves (80%+) have more open crumb and stale faster because air pockets allow moisture to escape more quickly. Lower hydration loaves (65%) stay fresh longer due to their denser structure. At 75% hydration, The Starter Jar's loaves maintain optimal texture for 3-4 days at room temperature before noticeable staling. Store in a paper bag (not plastic) to allow the crust to breathe while protecting the crumb.
Q: What's the difference between baker's percentage and hydration percentage?
A: Baker's percentage expresses all ingredients as a percentage of flour weight. Hydration is only the water-to-flour ratio. In a typical The Starter Jar recipe: 1000g flour (100%), 750g water (75% hydration), 200g starter (20%), and 20g salt (2%). Baker's percentage totals more than 100% because it includes all ingredients, while hydration focuses solely on water.
Q: Should I adjust hydration based on my starter's consistency?
A: Yes, if your starter is very liquid (100% hydration starter), reduce your dough water slightly—by about 5% of the starter weight. If your starter is thick (50% hydration starter), no adjustment is needed. The Starter Jar maintains a 100% hydration starter (equal parts flour and water by weight) for consistency, which simplifies recipe scaling and hydration calculations.

