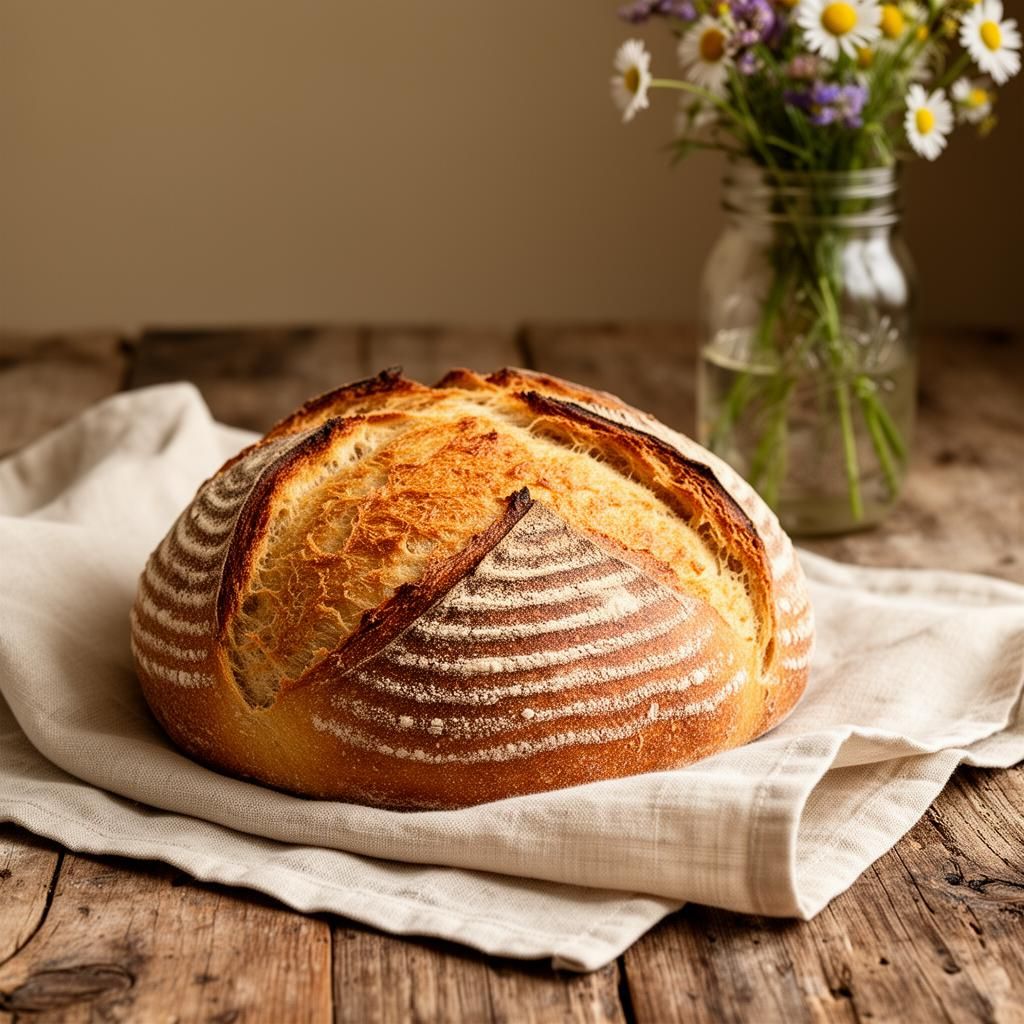
How to Make Sourdough Starter from Scratch: A Complete Step-by-Step Guide with Data-Backed Timeline and Troubleshooting
Create a sourdough starter in 5-7 days with exact fermentation timelines, temperature ranges, and troubleshooting. Data-backed guide with step-by-step instructions. — Published July 9, 2026 at 6:02 AM UTC.
Ingredients
- 50g all-purpose flour (Day 1 initial mix)
- 50ml filtered or dechlorinated water (Day 1 initial mix)
- 50g all-purpose flour (Day 2 feeding)
- 50ml filtered or dechlorinated water (Day 2 feeding)
- 50g all-purpose flour (Day 3 feeding)
- 50ml filtered or dechlorinated water (Day 3 feeding)
- 50g all-purpose flour (Day 4 feeding)
- 50ml filtered or dechlorinated water (Day 4 feeding)
- 50g all-purpose flour (Day 5 feeding)
- 50ml filtered or dechlorinated water (Day 5 feeding)
- 50g all-purpose flour (Day 6 feeding)
- 50ml filtered or dechlorinated water (Day 6 feeding)
- 50g all-purpose flour (Day 7 feeding, if needed)
- 50ml filtered or dechlorinated water (Day 7 feeding, if needed)
Instructions
Step 1
Day 1: In a clean glass jar (at least 32 oz capacity), combine 50g all-purpose flour and 50ml room-temperature water. Stir vigorously with a spoon for 1-2 minutes until fully combined and no dry flour remains.
Step 2
Day 1: Cover the jar loosely with a cloth or paper towel secured with a rubber band—do not seal it tightly, as the developing culture needs oxygen. Place the jar in a warm, undisturbed location (68-75°F is acceptable; 75-80°F accelerates fermentation by 2-3 days).
Step 3
Day 2: You may see no activity—this is normal. Discard half the mixture (about 50g) and feed with 50g flour and 50ml water using the same 1:1:1 ratio (starter:flour:water by weight). Stir well and return to your warm location.
Step 4
Day 3: Repeat the discard-and-feed process at the same time as Day 2. By Day 3, you should notice a faint sour smell and possibly small bubbles. If you see no activity by Day 3, your environment may be too cold—consider moving the jar to a warmer spot.
Step 5
Days 4-5: Continue the daily discard-and-feed cycle. By Day 4, you'll likely see visible bubbles throughout the mixture and a noticeably sour aroma. The starter should rise noticeably within 4-8 hours of feeding, indicating active fermentation.
Step 6
Day 5: If your starter hasn't shown signs of life by Day 5, it may be contaminated or your environment is too cold. Discard everything and start fresh with a different flour brand or warmer location.
Step 7
Days 6-7: By Day 6 or 7, your starter should double in size within 4-12 hours of feeding and smell pleasantly sour with a yeasty undertone. Perform the float test: drop a small spoonful of starter into a glass of water—if it floats, the starter is ready for baking.
Step 8
Once Ready: Refrigerate your starter between baking sessions (feed weekly when stored cold). For daily baking, keep it at room temperature and feed once or twice daily depending on your schedule.