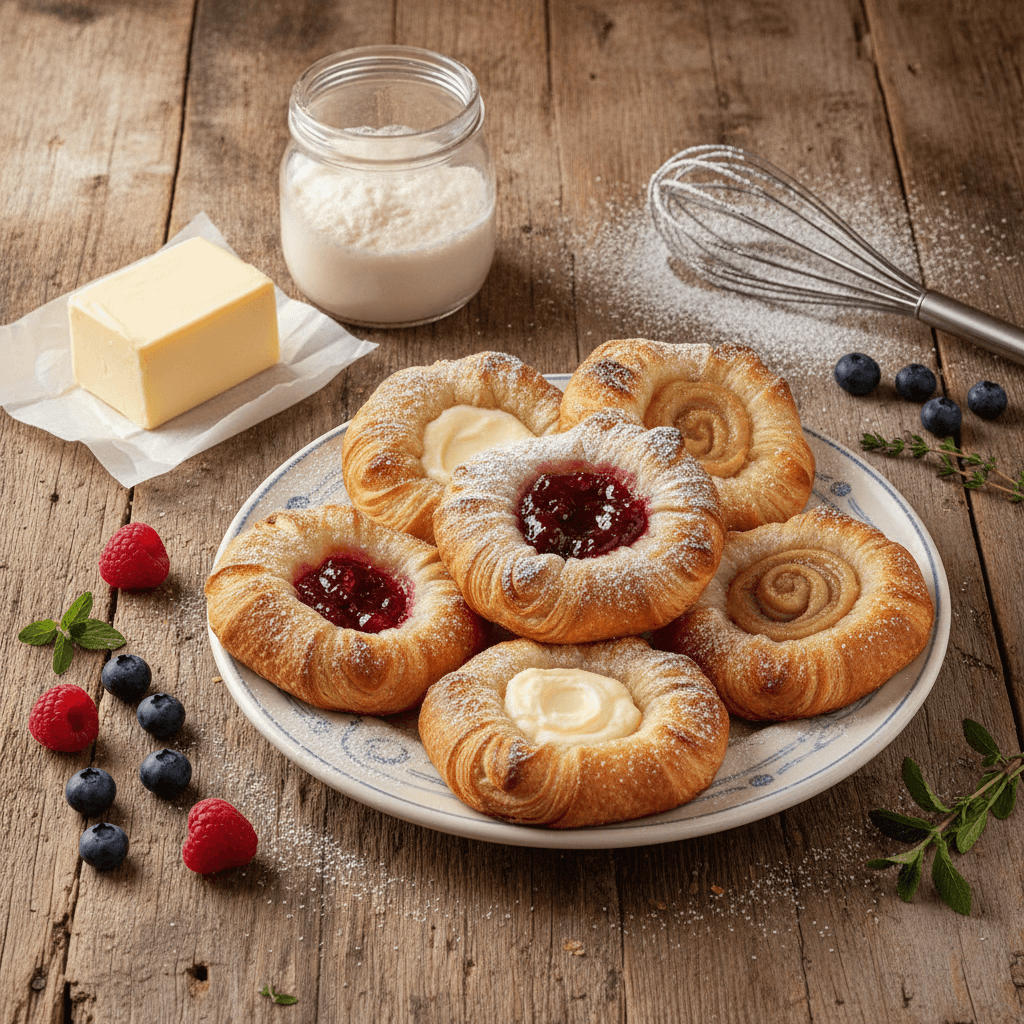
The Starter Jar's Best Sourdough Danish Pastries: Flaky, Buttery, and Effortlessly Achieved
Master sourdough Danish pastries with The Starter Jar's easy recipe. Achieve flaky, buttery results with detailed instructions & expert tips. — Published September 3, 2026 at 6:04 AM UTC.
Ingredients
- 100g active sourdough starter (fed and bubbly)
- 250ml whole milk, lukewarm
- 50g granulated sugar
- 1 large egg
- 400g all-purpose flour
- 7g fine sea salt
- 50g unsalted butter, softened
- 225g European-style unsalted butter, cold (for lamination)
- 1 large egg (for egg wash)
- 1 tablespoon whole milk (for egg wash)
- Your favorite fruit preserves, cream cheese filling, or almond paste (optional filling)
- 100g powdered sugar (for glaze)
- 1-2 tablespoons milk or lemon juice (for glaze)
Instructions
Step 1
In the bowl of a stand mixer, combine The Starter Jar's active sourdough starter, lukewarm milk, sugar, and egg. Mix briefly until combined.
Step 2
Add the all-purpose flour and sea salt to the wet mixture. Mix on low speed with a dough hook until a shaggy dough forms, about 2-3 minutes.
Step 3
Add the softened 50g unsalted butter, one tablespoon at a time, mixing until fully incorporated and the dough is smooth and elastic, about 8-10 minutes.
Step 4
Form the dough into a ball, place it in a lightly oiled bowl, cover tightly, and refrigerate overnight for 12-16 hours. This slow fermentation develops deep flavor.
Step 5
Place the cold 225g European-style butter between two sheets of parchment paper. Roll it out into a 6x6 inch (15x15 cm) square, ensuring even thickness.
Step 6
Remove the dough from the fridge and roll it into a 12x12 inch (30x30 cm) square on a lightly floured surface. Place the butter block diagonally in the center of the dough.
Step 7
Fold the four corners of the dough over the butter block, sealing the seams completely to prevent butter leakage. Gently roll it into a 9x18 inch (23x46 cm) rectangle.
Step 8
Perform a book fold (or double fold): fold one end of the dough to meet the center, then fold the other end over it, like closing a book. Wrap tightly in plastic wrap and refrigerate for 30 minutes.
Step 9
Remove the dough, unwrap, and rotate it 90 degrees. Roll it again into a 9x18 inch (23x46 cm) rectangle.
Step 10
Repeat the book fold, wrap, and refrigerate for another 30 minutes.
Step 11
Remove the dough, unwrap, and rotate 90 degrees. Roll it into a 9x18 inch (23x46 cm) rectangle one last time.
Step 12
Perform the final book fold, wrap tightly, and refrigerate for at least 1 hour, or up to 4 hours.
Step 13
On a lightly floured surface, roll the chilled dough into a large rectangle, about 1/8 inch (3mm) thick. Cut the dough into 12 squares.
Step 14
Place a spoonful of your chosen filling in the center of each square. Fold the corners towards the center, or create your desired Danish shape.
Step 15
Arrange the shaped Danish on parchment-lined baking sheets, leaving space between them. Cover loosely with plastic wrap and let them proof in a warm place for 2-4 hours, or until visibly puffy.
Step 16
Preheat your oven to 400°F (200°C). Whisk together the egg wash ingredients. Gently brush the tops of the Danish with the egg wash.
Step 17
Bake for 18-22 minutes, or until golden brown and puffed.
Step 18
Transfer the baked Danish to a wire rack to cool. Once cool, prepare the glaze by whisking powdered sugar with milk or lemon juice until smooth. Drizzle over the cooled pastries.