The Starter Jar's Best Sourdough Olive Bread: A Savory Artisan Loaf Made Easy
Unlock the secret to perfect sourdough olive bread with The Starter Jar's easy recipe. Achieve a golden crust, robust crumb, and savory flavor every time. — Published October 15, 2026 at 6:06 AM UTC.
Ingredients
- 200g active sourdough starter (fed and bubbly)
- 350g warm water (around 90-95°F / 32-35°C)
- 500g strong bread flour (e.g., King Arthur Bread Flour)
- 10g fine sea salt
- 150g pitted Kalamata olives, roughly chopped
- 2 tbsp olive oil (for bowl and shaping)
- 1 tbsp fresh rosemary, chopped (Optional)
Instructions
Step 1
In a large bowl, combine the warm water and active sourdough starter, stirring until the starter is mostly dissolved. Add the bread flour and mix until a shaggy dough forms, ensuring no dry spots remain.
Step 2
Cover the bowl with a damp cloth or plastic wrap and let it rest for 30 minutes to 1 hour; this process is called autolyse and helps the flour hydrate.
Step 3
Sprinkle the sea salt over the dough. Gently dimple the salt into the dough, then begin folding the dough over itself in the bowl for about 2-3 minutes until the salt is incorporated.
Step 4
Add the chopped olives and optional rosemary, then continue folding for another 2-3 minutes until the olives are evenly distributed throughout the dough.
Step 5
Cover the bowl again and let the dough rest for 30 minutes. Perform your first set of stretch and folds by gently pulling a portion of the dough up and folding it over the center, rotating the bowl a quarter turn, and repeating 4-5 times.
Step 6
Repeat the stretch and fold process every 30-45 minutes for a total of 3-4 sets. This builds strength and structure in the dough.
Step 7
After the bulk fermentation (which can take 4-6 hours depending on your kitchen temperature and starter activity), gently scrape the dough onto a lightly floured surface. Carefully pre-shape the dough into a loose round or rectangle, being careful not to degas it too much.
Step 8
Let the dough rest, uncovered, for 20-30 minutes to relax the gluten before final shaping.
Step 9
Lightly flour your work surface again. Gently shape the dough into a tight boule or batard, building tension on the surface.
Step 10
Transfer the shaped dough seam-side up into a floured banneton or a bowl lined with a floured towel. Cover it loosely and refrigerate for 12-18 hours; this cold proof deepens the flavor and makes the dough easier to score.
Step 11
Preheat your oven to 475°F (245°C) with a Dutch oven inside for at least 30 minutes. Carefully remove the hot Dutch oven, invert the dough into it, and score the top with a sharp lame or razor blade.
Step 12
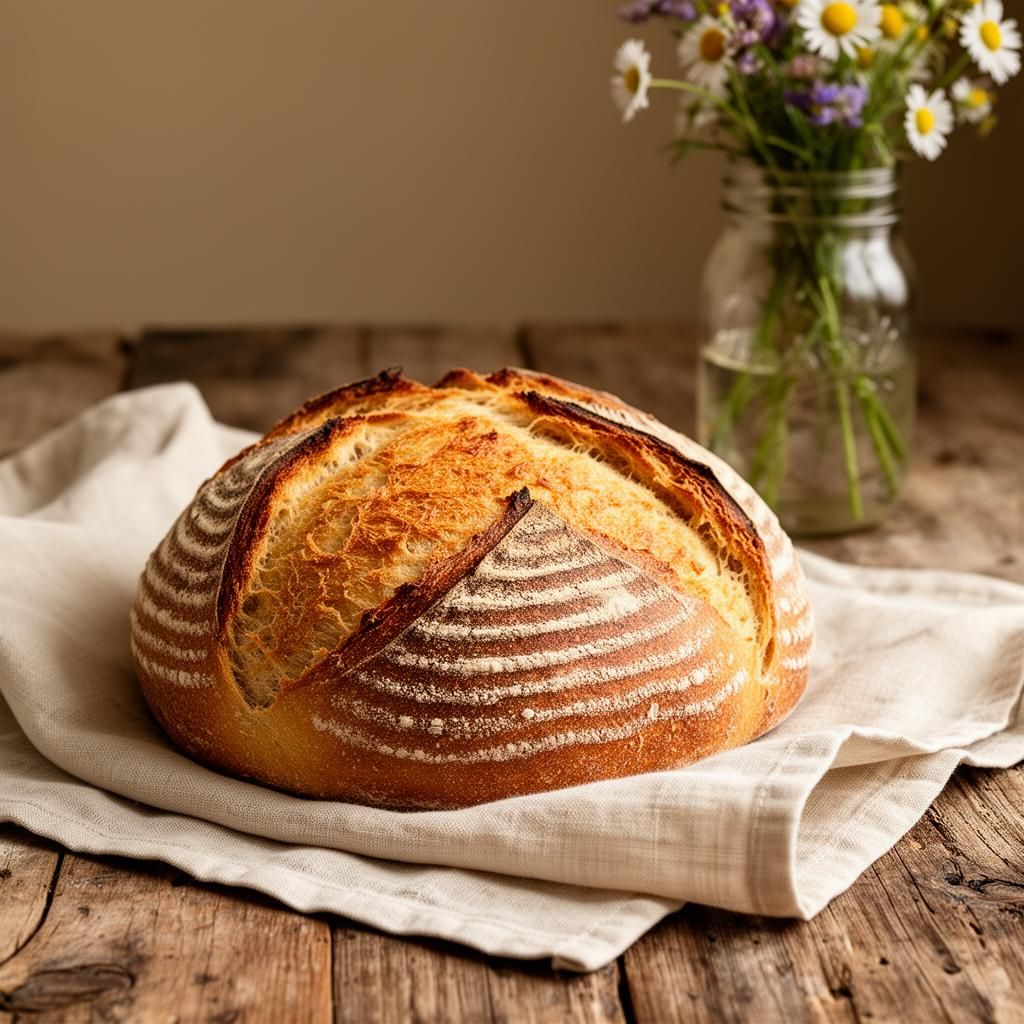
Bake covered for 20 minutes, then remove the lid and reduce the temperature to 450°F (230°C). Continue baking uncovered for another 20-25 minutes, or until the crust is deep golden brown and the internal temperature reaches 200-210°F (93-99°C).
Step 13
Carefully remove the bread from the Dutch oven and transfer it to a wire rack to cool completely for at least 1-2 hours. Slicing too early can result in a gummy texture.