The Starter Jar's Best Sourdough Seeded Loaf: A Hearty and Flavorful Recipe
Master The Starter Jar's best sourdough seeded loaf recipe. Learn how to make hearty, flavorful bread with unique texture and nutritional benefits. Perfect for beginners! — Published August 25, 2026 at 6:04 AM UTC.
Ingredients
- 200g active sourdough starter (fed and bubbly)
- 350g bread flour
- 150g whole wheat flour
- 350g warm water (around 90-95°F / 32-35°C)
- 10g fine sea salt
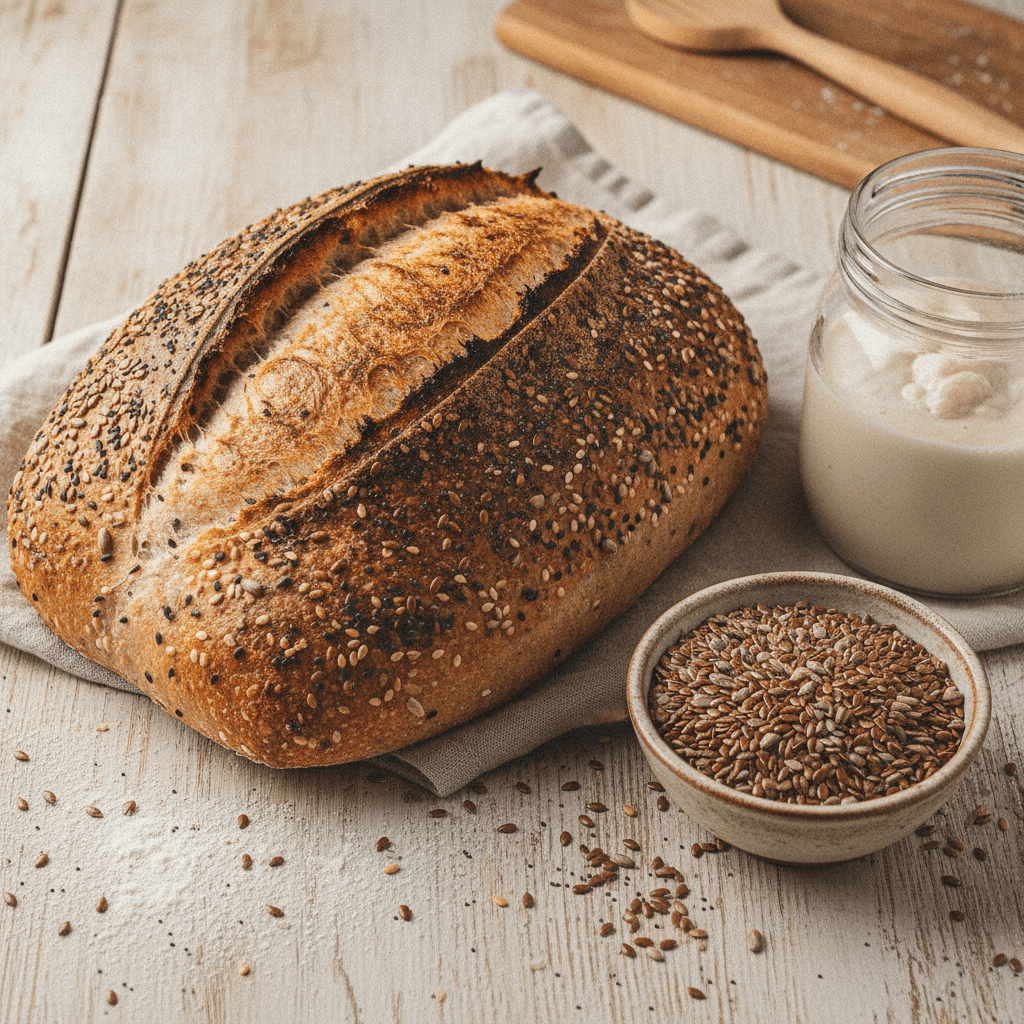
- 20g mixed seeds (flax, sesame, sunflower, poppy)
- Additional seeds for topping (optional)
Instructions
Step 1
Combine Ingredients: In a large mixing bowl, gently combine the active sourdough starter and warm water. Stir until the starter is mostly dissolved.
Step 2
Add Dry Ingredients: Add the bread flour, whole wheat flour, salt, and mixed seeds to the bowl. Mix with a Danish dough whisk or your hands until no dry spots remain and a shaggy dough forms. Do not overmix.
Step 3
Rest (Autolyse): Cover the bowl with a damp cloth or plastic wrap and let the dough rest for 30 minutes. This allows the flour to fully hydrate.
Step 4
First Set of Folds: Perform the first set of stretch and folds. With wet hands, gently grab a portion of the dough, stretch it upwards, and fold it over itself. Rotate the bowl and repeat this process 4-6 times until the dough starts to develop some tension.
Step 5
Subsequent Folds: Cover the dough and let it rest for 30 minutes. Repeat the stretch and fold process three more times, with 30-minute intervals between each set. You'll notice the dough becoming smoother and more elastic with each set.
Step 6
Bulk Fermentation: After the final set of folds, cover the bowl and let the dough bulk ferment at room temperature (around 70-75°F / 21-24°C) for 4-6 hours, or until it has increased in volume by about 30-50% and shows signs of activity (bubbles). The exact time depends on your starter's strength and ambient temperature.
Step 7
Pre-shape: Gently turn the dough out onto a lightly floured surface. Carefully shape it into a round or oval, being careful not to degas too much. Let it rest, uncovered, for 20 minutes.
Step 8
Final Shape: Lightly flour your work surface and shape the dough into its final desired form. If using a banneton, dust it generously with rice flour. If desired, lightly mist the dough with water and roll it in additional seeds for a beautiful crust.
Step 9
Cold Proof: Carefully transfer the shaped dough into the prepared banneton or a bowl lined with a floured kitchen towel. Cover and refrigerate for 12-18 hours. This slow, cold proof develops deeper flavor and makes the dough easier to handle.
Step 10
Preheat Oven: Preheat your oven to 475°F (245°C) with a Dutch oven inside for at least 30-60 minutes.
Step 11
Score and Bake (Covered): Carefully remove the hot Dutch oven. Gently invert the cold dough into the Dutch oven. Score the top of the dough with a sharp razor or lame. Cover the Dutch oven and bake for 20 minutes.
Step 12
Bake (Uncovered): Remove the lid and reduce the oven temperature to 450°F (230°C). Continue baking for another 25-30 minutes, or until the crust is deeply golden brown and the internal temperature reaches 200-210°F (93-99°C).
Step 13
Cool: Carefully remove the loaf from the Dutch oven and transfer it to a wire rack to cool completely for at least 2 hours before slicing. Slicing too early can result in a gummy texture.