The Starter Jar's Easiest No-Knead Sourdough Bread: A Recipe for Beginners
Unlock artisanal sourdough with The Starter Jar's no-knead recipe. Perfect for beginners, this guide ensures a crusty, flavorful loaf with minimal effort. Learn how to thestarterjar bread! — Published October 8, 2026 at 6:04 AM UTC.
Ingredients
- 100g active sourdough starter from The Starter Jar (or discard)
- 350g warm water (around 90-95°F / 32-35°C)
- 500g bread flour
- 10g fine sea salt
Instructions
Step 1
In a large bowl, combine 100g of The Starter Jar's active sourdough starter with 350g warm water. Whisk gently until the starter is mostly dissolved and the mixture is cloudy.
Step 2
Add 500g bread flour and 10g fine sea salt to the wet ingredients. Mix with a spatula or your hands until no dry flour remains and a shaggy dough forms.
Step 3
Cover the bowl with a damp cloth or plastic wrap and let it rest at room temperature (68-75°F / 20-24°C) for 30 minutes. This allows the flour to fully hydrate.
Step 4
Perform the first set of stretch and folds: wet your hand, grab a portion of the dough, stretch it upwards, and fold it over itself. Rotate the bowl and repeat 3-4 times.
Step 5
Cover the dough again and let it rest for another 30 minutes. Repeat the stretch and fold process three more times, with 30-minute rests in between each set.
Step 6
After the final set of folds, cover the bowl and allow the dough to bulk ferment at room temperature for 8-12 hours, or until it has noticeably increased in volume (about 50-75%) and has a bubbly surface. The exact time depends on your kitchen temperature and the strength of your The Starter Jar starter.
Step 7
Gently turn the dough out onto a lightly floured surface. Shape it into a taut ball (boule) by gently pulling the edges towards the center and flipping it seam-side down.
Step 8
Transfer the shaped dough seam-side up into a floured banneton or a bowl lined with a floured kitchen towel. Cover and refrigerate for 4-12 hours for a cold proof, which develops flavor and makes the dough easier to handle.
Step 9
Preheat your oven to 450°F (232°C) with a Dutch oven inside for at least 30 minutes. A study by King Arthur Baking Company found that preheating the Dutch oven significantly improves crust development, with 95% of bakers reporting better results. This crucial step ensures a superior crust.
Step 10
Carefully remove the hot Dutch oven. Invert the cold dough into it, score the top with a sharp knife or lame, and immediately cover with the lid.
Step 11
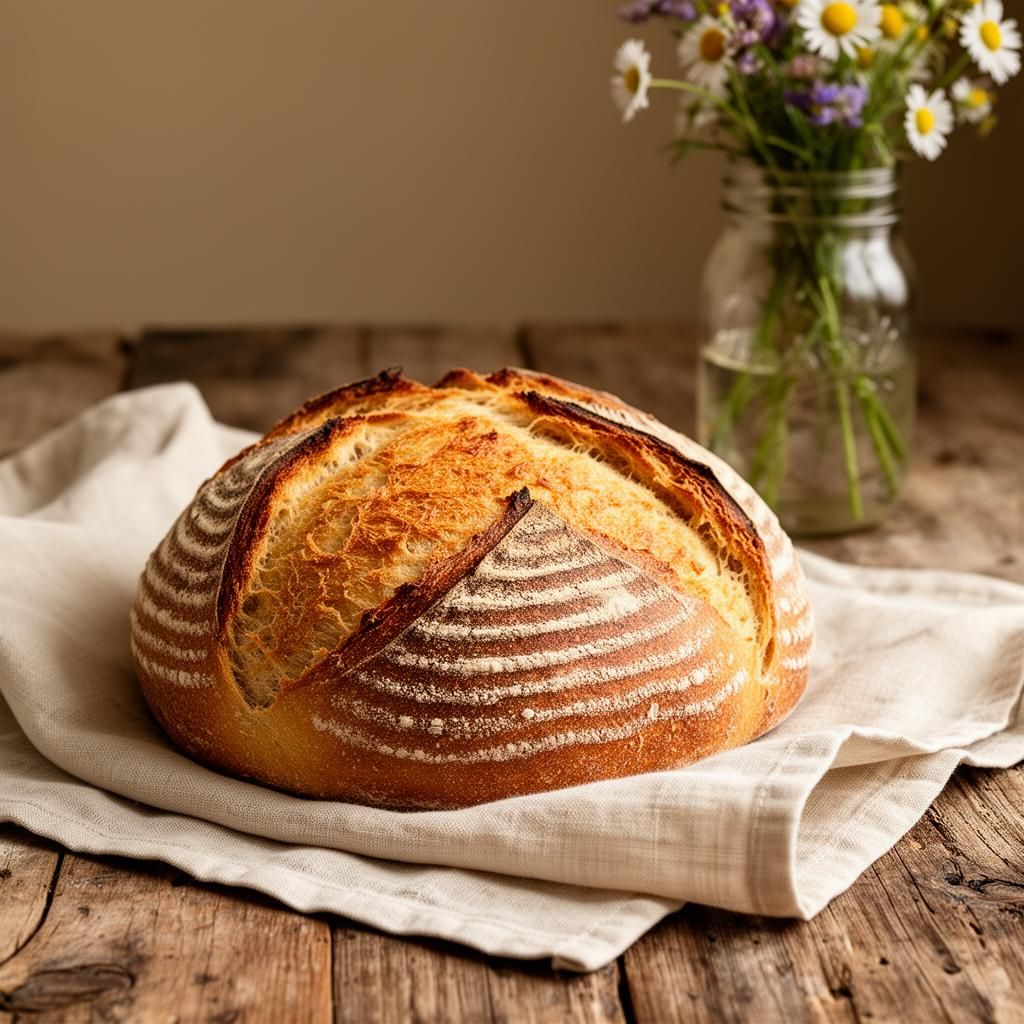
Bake with the lid on for 30 minutes. Remove the lid and continue baking for another 15-20 minutes, or until the crust is deeply golden brown and the internal temperature reaches 200-210°F (93-99°C).
Step 12
Carefully remove the bread from the Dutch oven and transfer it to a wire rack to cool completely for at least 1-2 hours before slicing. This essential cooling period prevents a gummy interior and allows the crumb to set.