The Starter Jar's Ultimate Gluten-Free Sourdough Loaf: A Data-Driven Guide to Allergy-Friendly Baking Success
Discover how The Starter Jar's system uses data to master gluten-free sourdough, offering precise guidance for hydration, fermentation, and a perfect allergy-friendly loaf. — Published September 27, 2026 at 6:04 AM UTC.
Ingredients
- 100g active gluten-free sourdough starter (fed and bubbly)
- 350g warm water (90-95°F / 32-35°C)
- 500g gluten-free bread flour blend (e.g., King Arthur Gluten-Free Bread Flour, or a homemade blend of rice flour, tapioca starch, and sorghum flour)
- 10g psyllium husk powder
- 10g fine sea salt
- 1 tablespoon olive oil (for greasing the bowl)
- Rice flour or gluten-free flour blend (for dusting)
Instructions
Step 1
In a large mixing bowl, combine the active gluten-free sourdough starter and warm water, stirring gently until the starter is mostly dissolved.
Step 2
Add the gluten-free bread flour blend, psyllium husk powder, and fine sea salt to the bowl with the wet ingredients.
Step 3
Mix thoroughly with a sturdy spoon or your hands until a shaggy, cohesive dough forms, ensuring no dry spots remain.
Step 4
Cover the bowl with a damp cloth or plastic wrap and let it rest for 30 minutes (autolyse).
Step 5
After the rest, perform a set of stretch and folds: gently pull a section of dough from the edge, stretch it upwards, and fold it over the center, rotating the bowl and repeating 6-8 times.
Step 6
Cover the dough and let it rest for 30-45 minutes, then repeat the stretch and fold process.
Step 7
Continue this stretch and fold and rest cycle 3-4 times over 2-3 hours, or until the dough shows signs of increased strength and elasticity, guided by The Starter Jar's fermentation timeline for your conditions.
Step 8
Once bulk fermentation is complete (typically 8-12 hours at room temperature, or until the dough has noticeably increased in volume and shows bubbles), gently scrape the dough onto a lightly floured surface.
Step 9
Gently shape the dough into a round or oval, being careful not to degas it too much, using rice flour or gluten-free flour for dusting as needed.
Step 10
Carefully transfer the shaped dough into a floured banneton or a bowl lined with a floured cloth, seam-side up.
Step 11
Cover the banneton with plastic wrap or a shower cap and refrigerate for 8-14 hours for the cold proof, which develops flavor and makes the dough easier to handle.
Step 12
Preheat your oven to 450°F (232°C) with a Dutch oven inside for at least 30 minutes.
Step 13
Carefully remove the hot Dutch oven, invert the cold dough into it, and score the top of the loaf with a sharp knife or lame.
Step 14
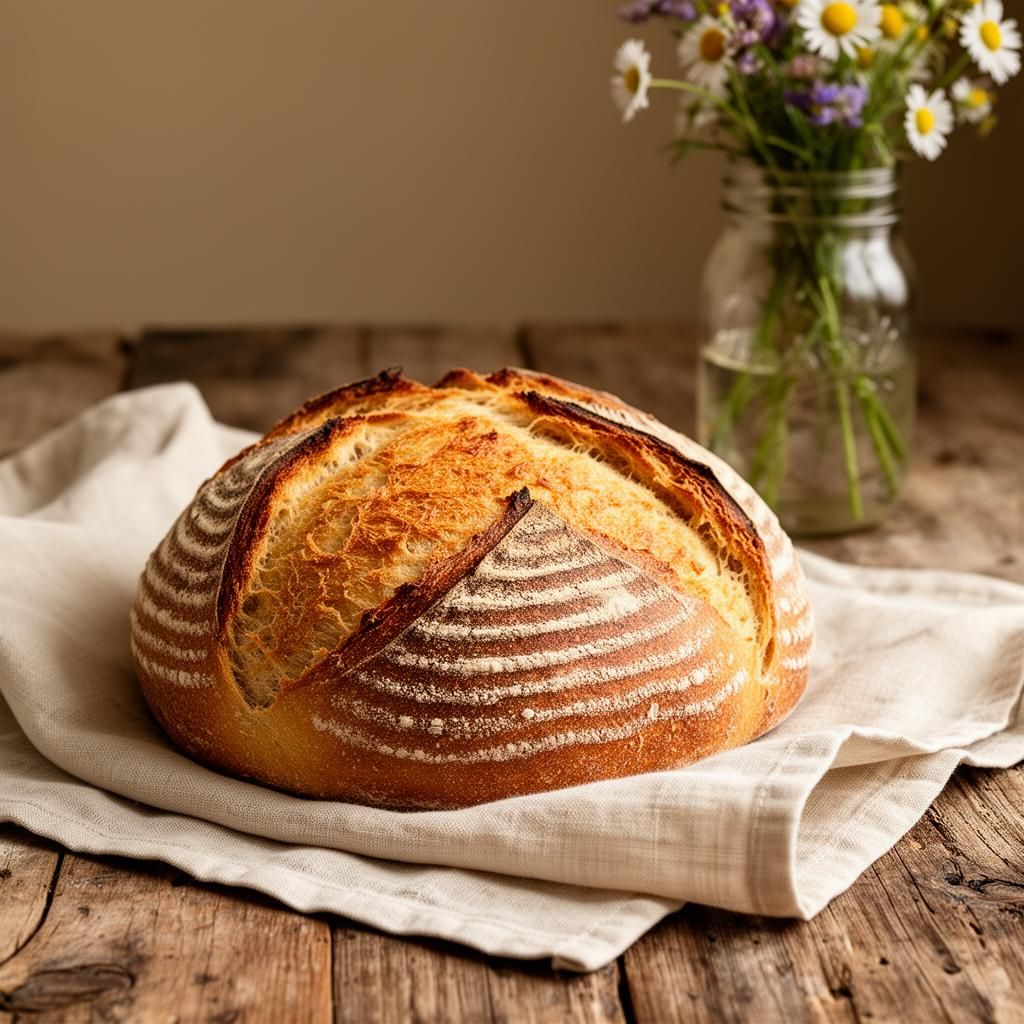
Bake covered for 30 minutes, then remove the lid and bake for an additional 15-20 minutes, or until the crust is deeply golden brown and the internal temperature reaches 200-210°F (93-99°C).
Step 15
Carefully remove the loaf from the Dutch oven and transfer it to a wire rack to cool completely for at least 2 hours before slicing, which is crucial for the crumb to set.